Manage 1C:Enterprise Settings in the Medusa Admin
In this guide, you'll learn how to manage the settings of the 1C:Enterprise integration.
View 1C:Enterprise Details
To open the 1C:Enterprise settings page:
- Open the Medusa Admin.
- Go to Settings → Integrations → 1C:Enterprise.
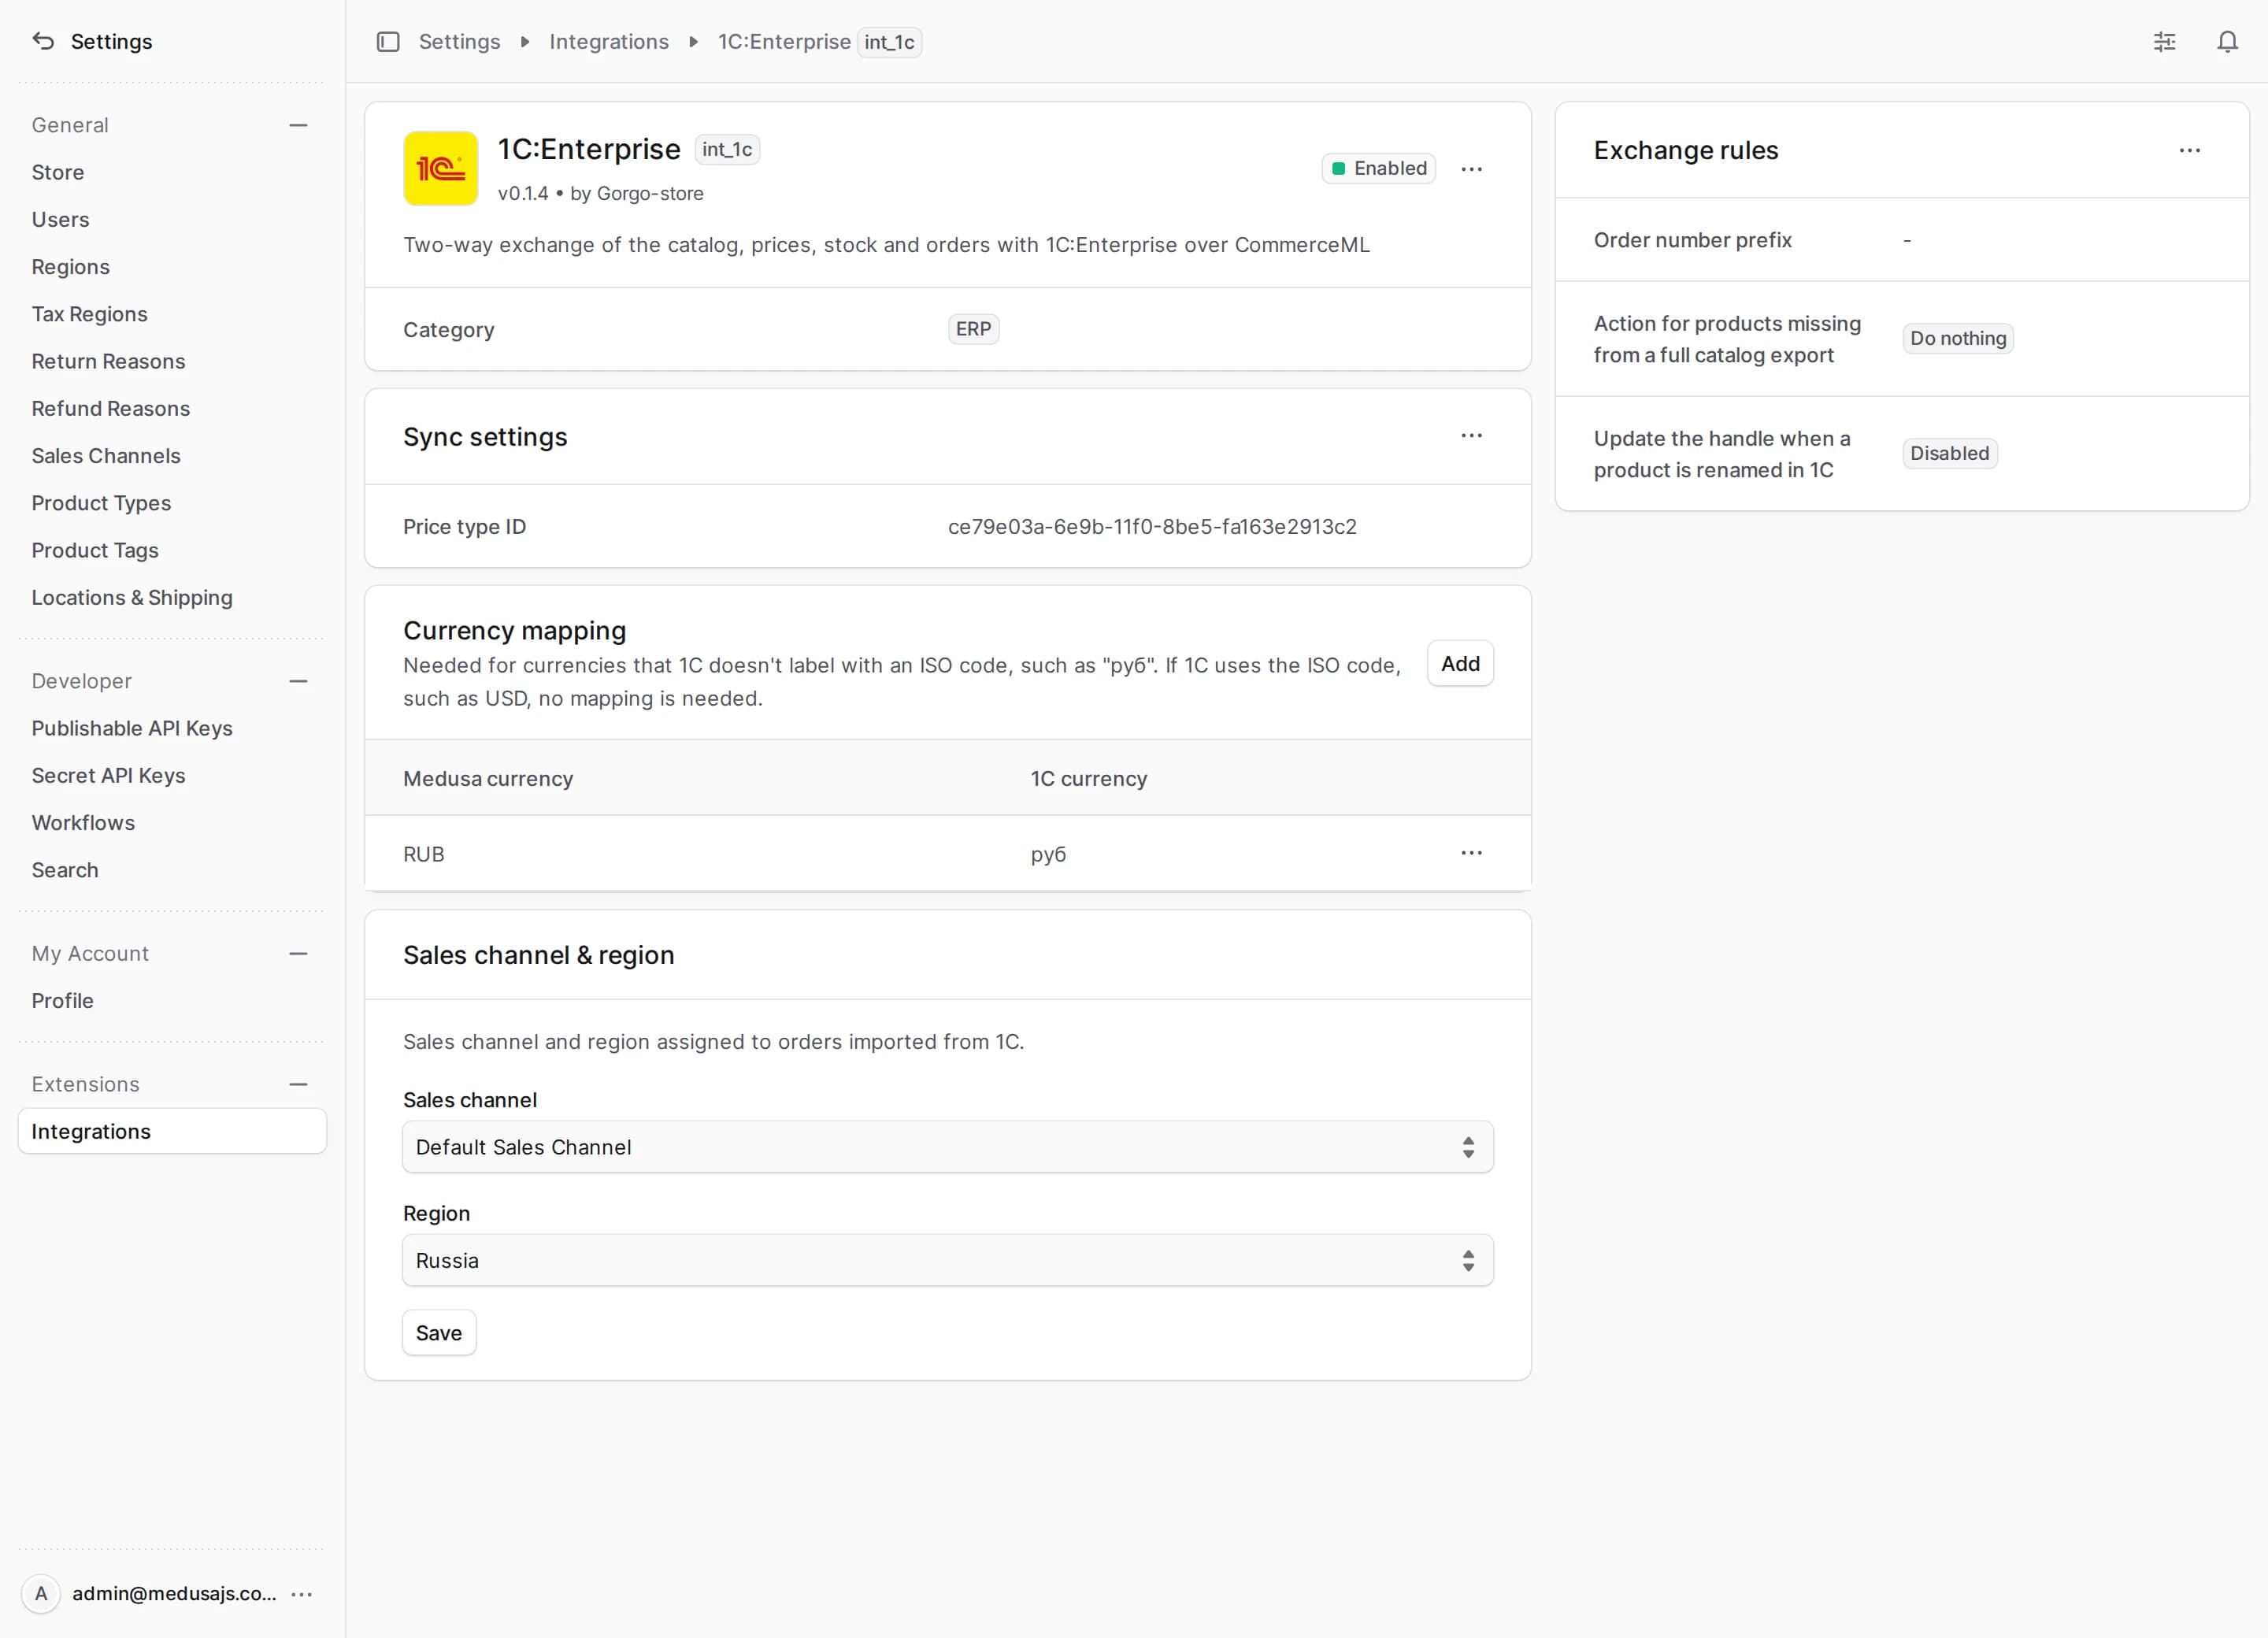
This opens the 1C:Enterprise settings page with the integration status, the Sync settings and Exchange rules sections, and two sections added by the plugin, Sales channel & region and Currency mapping.
Choose the Sales Channel and Region
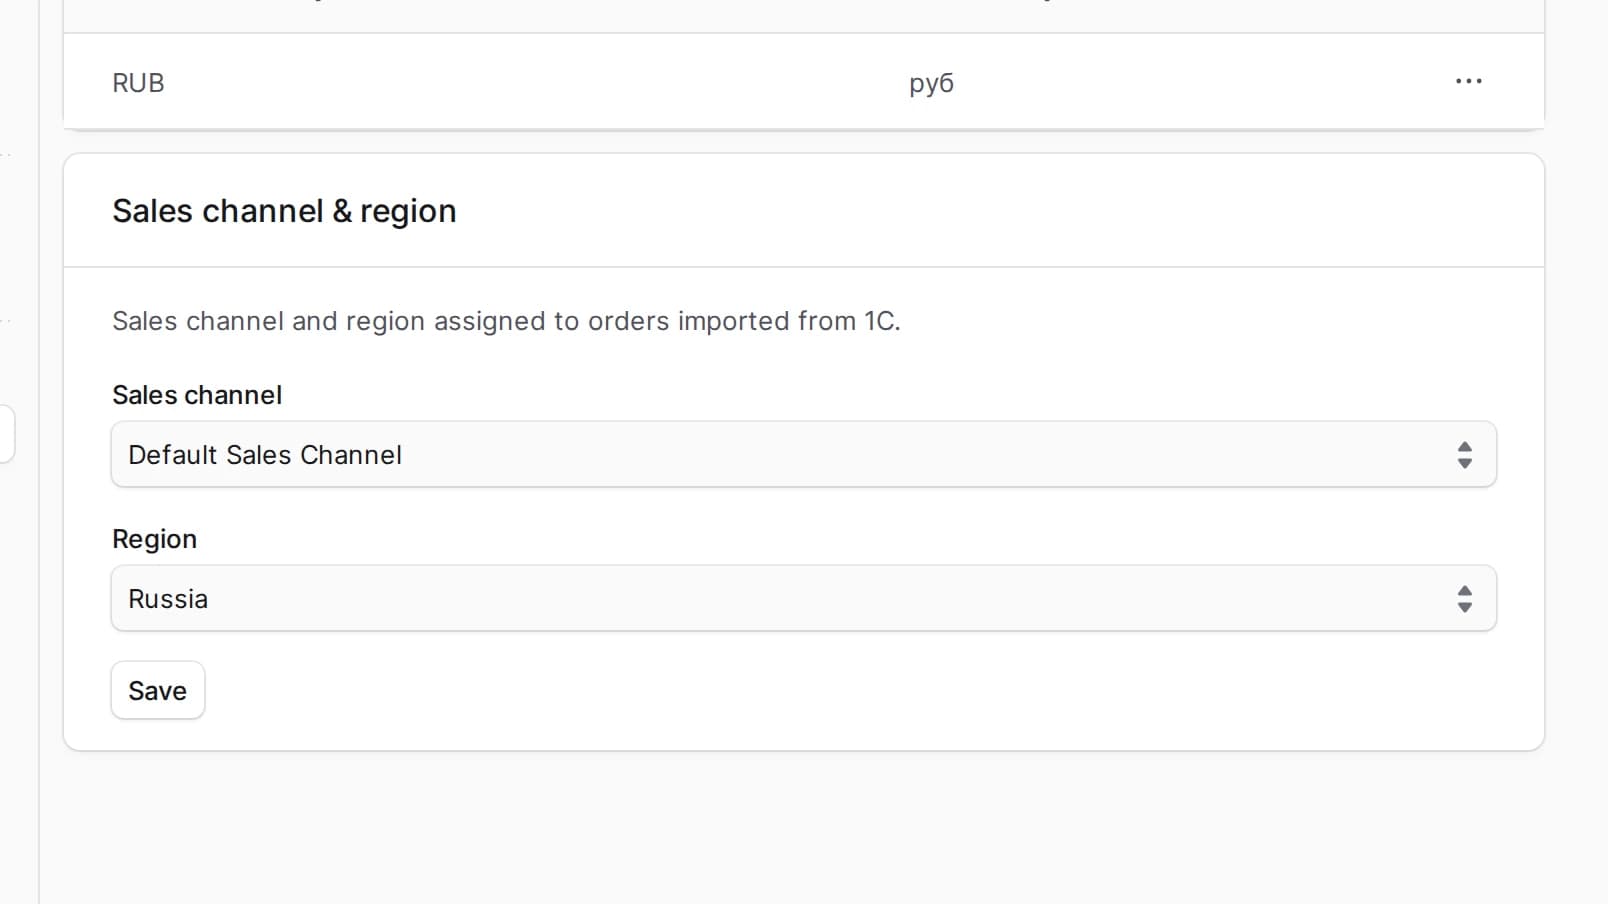
The sales channel and the region are required. Until you save them, the integration stays Not configured or Incomplete, and the plugin rejects requests from 1C.
- Sales channel – the plugin links products and stock locations from 1C to it. Orders that come from 1C get it as well.
- Region – the region for an order from 1C when no region matches the document's currency.
To choose the sales channel and region:
- Go to Settings → Integrations → 1C:Enterprise.
- In the Sales channel & region section, choose the sales channel.
- Choose the region.
- Click Save.
Edit the Sync Settings
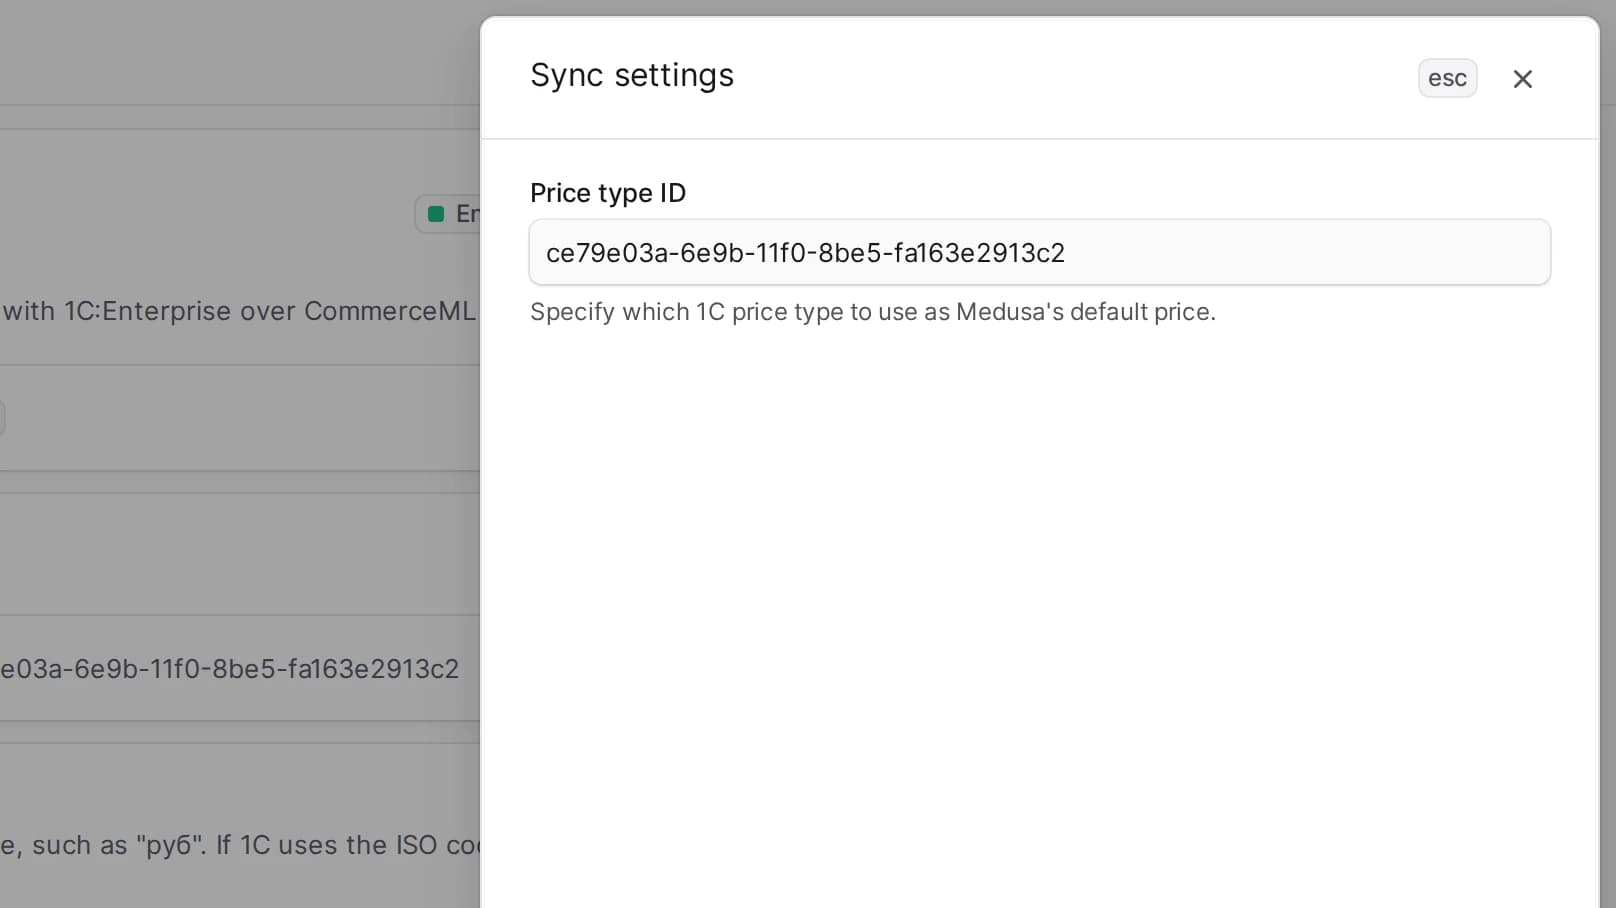
The Sync settings section holds the Price type ID field. It's the of the 1C price type whose prices the plugin writes to variants as retail prices. If the field is empty, the first price type in is the retail one. The other price types become price lists, as described in Enable Price Lists from 1C below.
When exporting the catalog to 1C, the plugin sets the same on prices. If the field is empty, the export uses the .
To edit the sync settings:
- Go to Settings → Integrations → 1C:Enterprise.
- In the Sync settings section, click the action menu in the section header.
- Choose Edit.
- In the side panel that opens, enter the of the retail price type.
- Click Save.
Manage the Currency Mapping
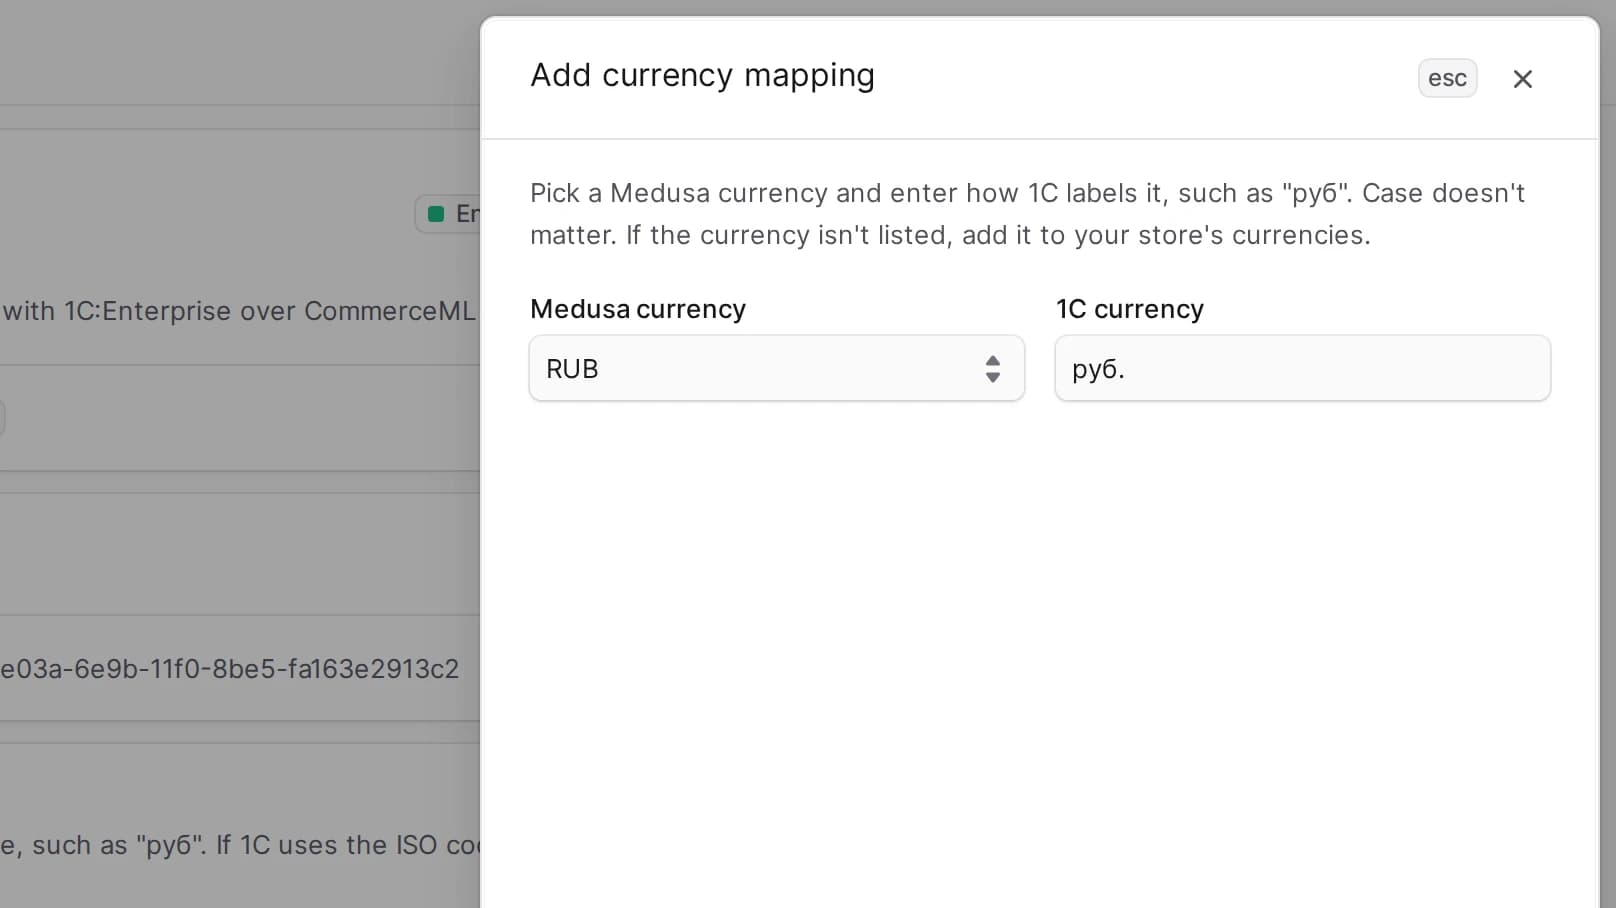
The Currency mapping section links a currency name, as 1C writes it in the exchange files, to a currency of your Medusa store. The plugin uses this mapping to determine the currency of variant prices, price lists and orders from 1C, and picks an order's region by its currency.
The plugin compares names ignoring case and surrounding spaces. If a currency has no mapping, the plugin uses its 1C name in lowercase as the Medusa currency code. So from 1C becomes without any setup. If there are no mappings at all, the plugin treats as .
To add a mapping:
- Go to Settings → Integrations → 1C:Enterprise.
- In the Currency mapping section, click Add.
- In the side panel that opens, choose a Medusa currency from your store's currencies.
- Enter the currency name as 1C writes it.
- Click Save.
To change or remove a mapping, open the action menu in its row and choose Edit or Delete.
Edit the Exchange Rules
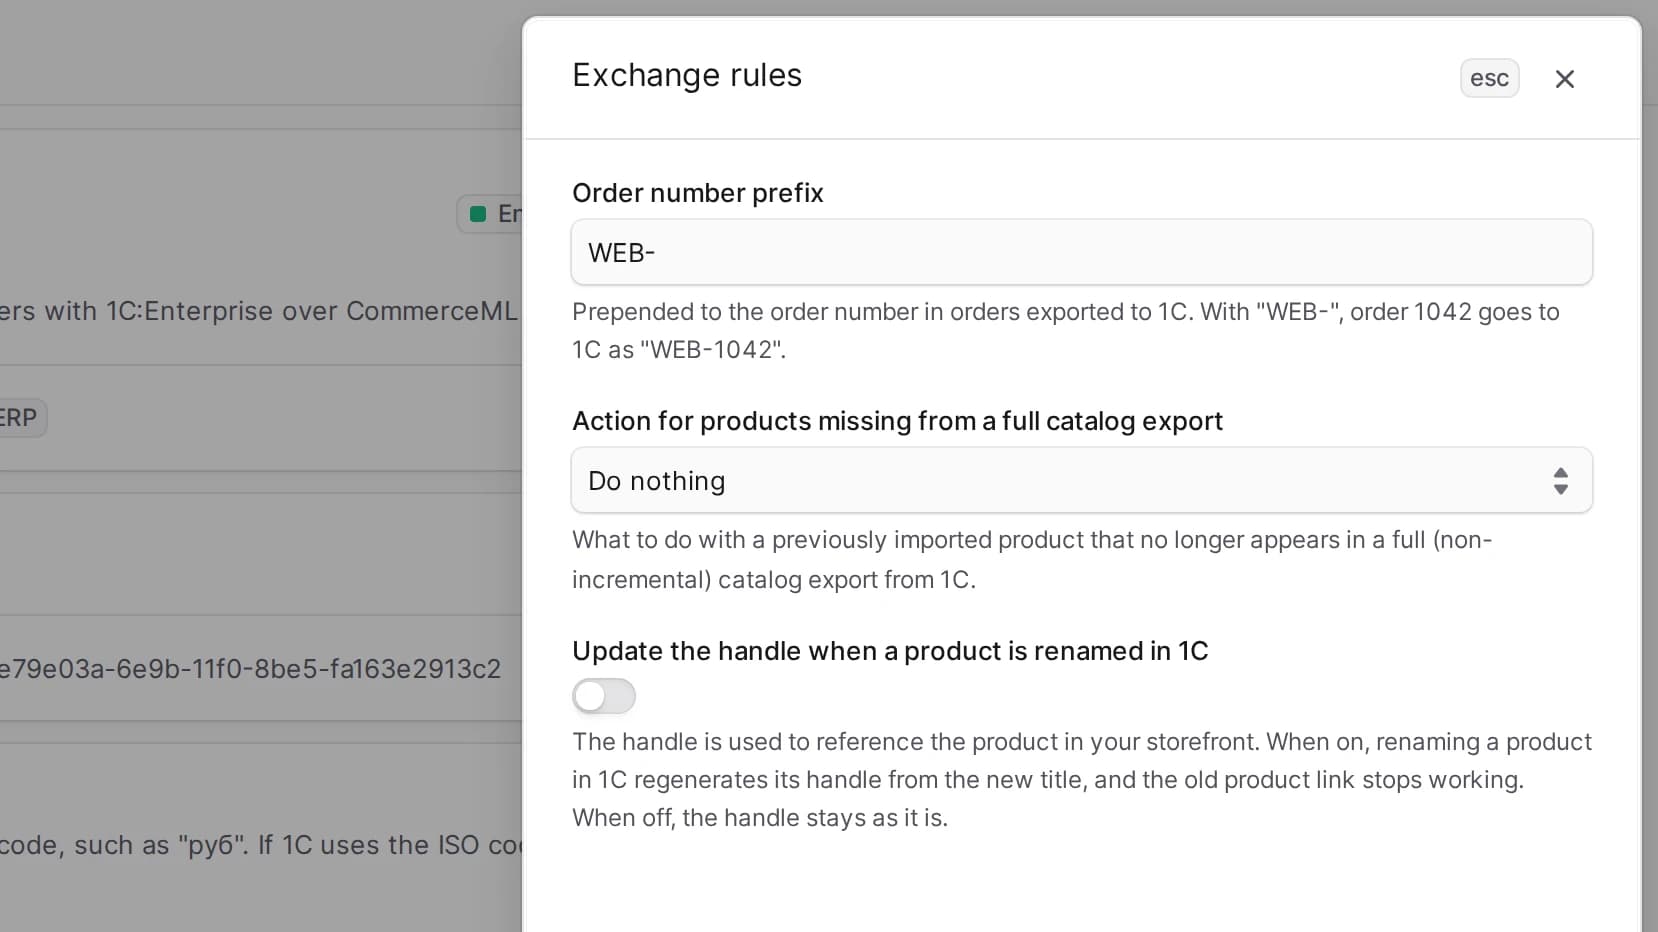
The Exchange rules section holds three fields:
- Order number prefix – a string the plugin adds before the Medusa order number when exporting to 1C. With the prefix, order 1042 goes to 1C as .
- Action for products missing from a full catalog export – what the plugin does with a previously imported product that's no longer in a full catalog export. You can choose Do nothing (the default), Deactivate (set to draft) or Delete.
- Update the handle when a product is renamed in 1C – whether to rebuild an existing product's handle when its name changes in 1C. Off by default.
The plugin saves the number under which an order went to 1C in the order itself. When 1C sends the order back, the plugin finds it by its or by that number and doesn't create it again. So changing the prefix doesn't affect orders already exported.
The action only runs after a full catalog export. If 1C sent only changes, the plugin doesn't treat the products absent from them as missing.
The handle sets the URL of the product page on the storefront. A new product gets a handle built from its name and part of its 1C , as described in Record Matching. While the setting is off, the plugin doesn't change an existing product's handle, and links to the product keep working. When it's on, renaming a product in 1C makes the plugin rebuild the handle from the new name, and the old link to the product stops working.
To edit the exchange rules:
- Go to Settings → Integrations → 1C:Enterprise.
- In the Exchange rules section, click the action menu in the section header.
- Choose Edit.
- In the side panel that opens, set the prefix, the action for missing products and the handle update.
- Click Save.
Check the Settings
This plugin's connection test doesn't call 1C, because 1C starts the exchange itself. Instead, it checks that the sales channel and region are chosen and that their IDs start with and .
To check the settings:
- Go to Settings → Integrations → 1C:Enterprise.
- Open the action menu next to the integration's name.
- Choose Test connection.
The result appears in a notification.
Enable Price Lists from 1C
The plugin brings every 1C price type except the retail one into Medusa as a price list. It creates a new price list as a draft of the Sale type, with the price type's name as the title and as the description. The plugin updates its prices on every exchange. It doesn't change the title, status, type or rules of an existing price list, so your edits to it stay.
To make the price list's prices visible to customers:
- Open the Medusa Admin and go to Price Lists.
- Open the price list named after the 1C price type.
- In the Configuration section, click the action menu, choose Edit, pick the customer groups in the Customer availability field, and click Save.
- In the price list header, click the action menu and choose Edit.
- Change Status to Active and click Save.
Set the customer groups before you activate the price list. Otherwise, between these two steps, the price list applies to every customer.
Medusa applies an active price list without customer groups to every storefront visitor, guests included. If the wholesale price is below the retail one, such a price list shows it to everybody. That's why the plugin creates new price lists as drafts.
To have the price list get its group and status automatically, use the hook, as in the Wholesale Price for a Customer Group example.