Manage 1C:Enterprise Settings in Medusa Admin
In this guide, you'll learn how to manage the 1C:Enterprise integration's settings.
View 1C:Enterprise Details
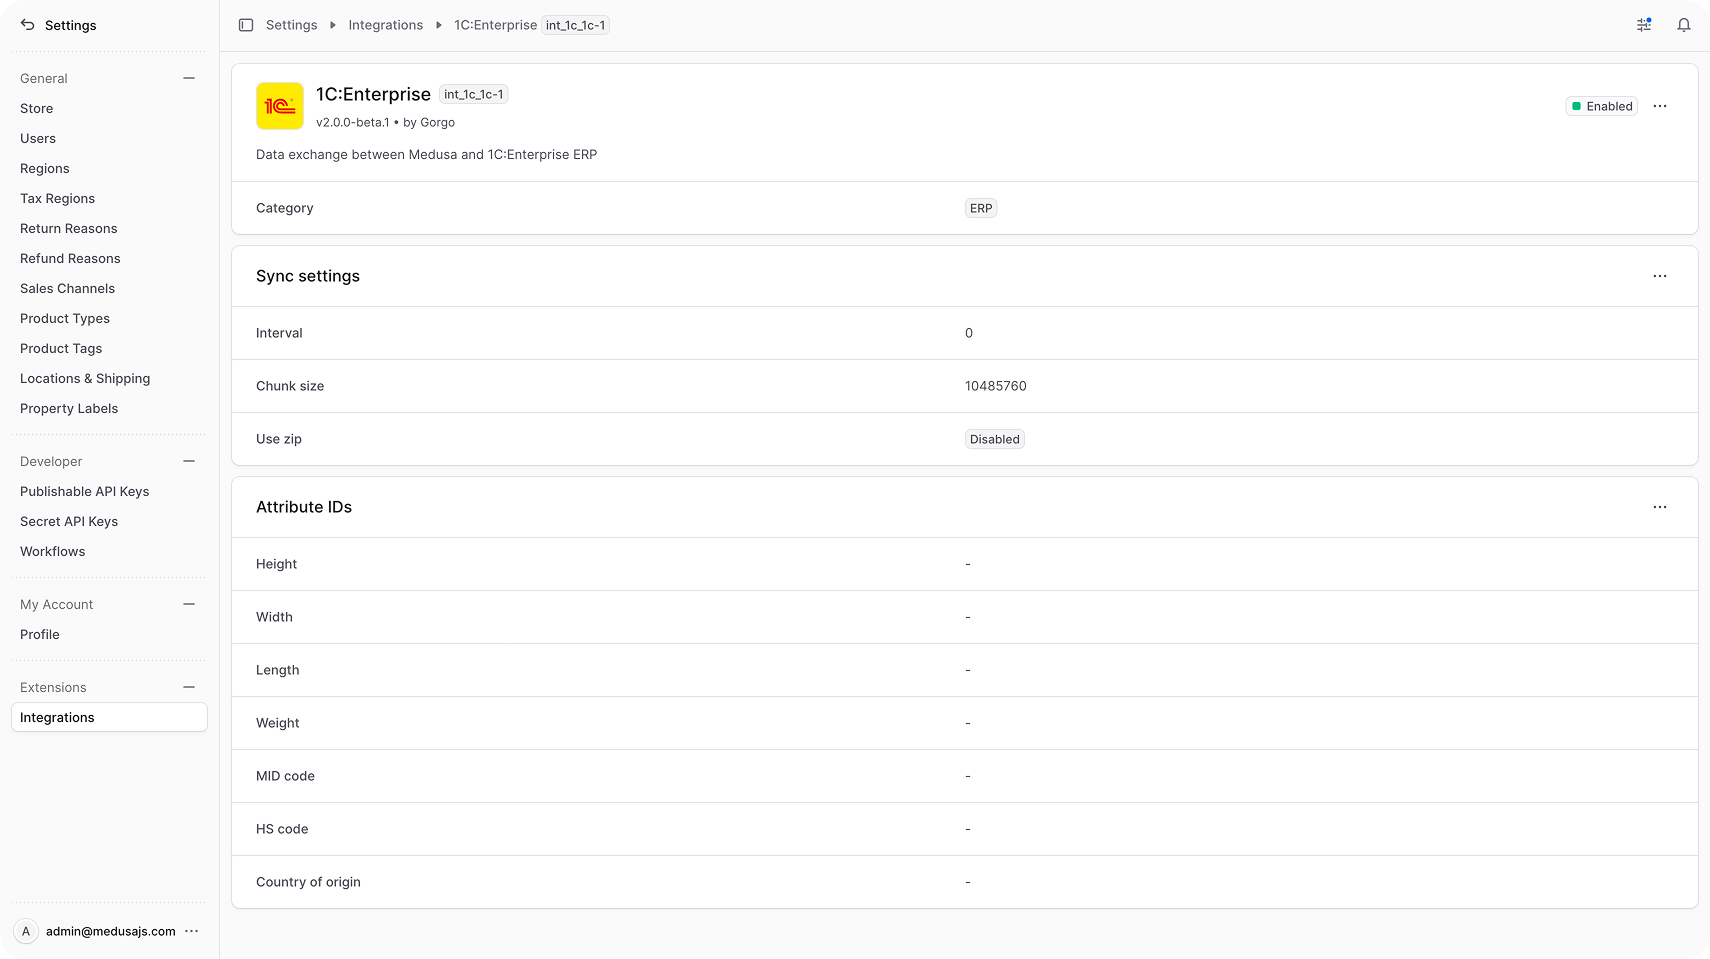
To view the 1C:Enterprise details:
- Open Medusa Admin.
- Go to Settings → Integrations → 1C:Enterprise.
This opens the 1C:Enterprise settings page, which shows the integration's version, category (ERP), status, sync settings, and attribute ID mappings.
Edit Sync Settings
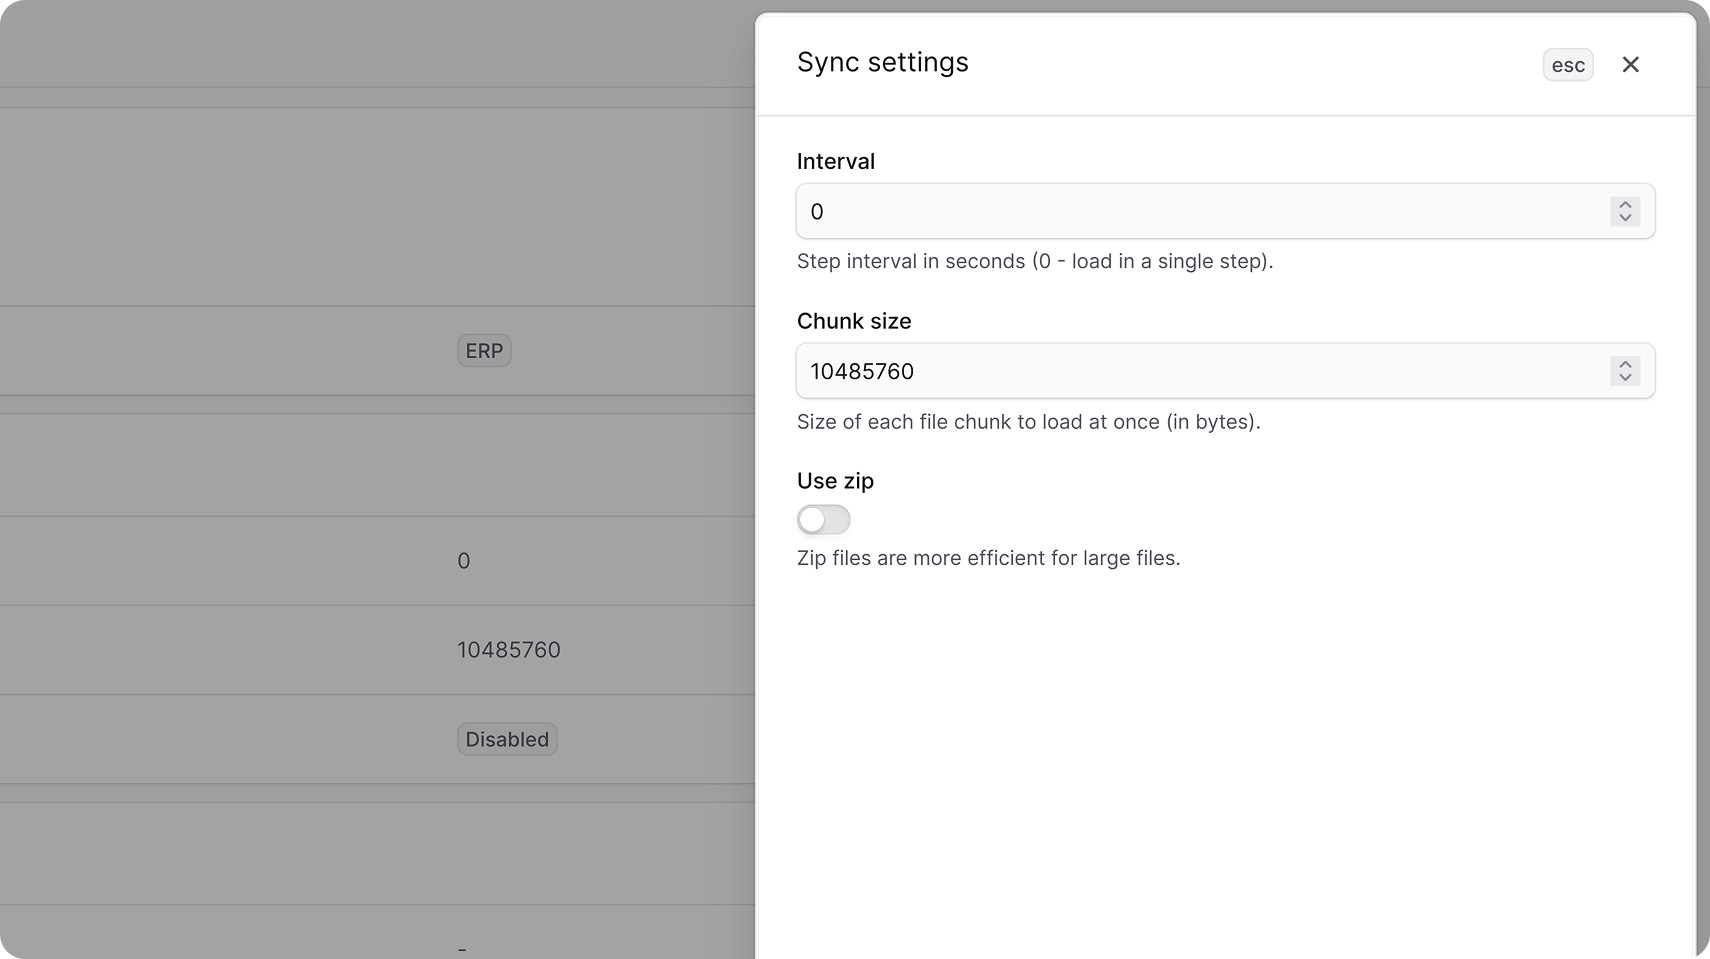
The Sync settings section controls how the plugin exchanges catalog files with 1C when 1C connects to Medusa's exchange endpoint.
- Interval — the step interval in seconds. Set to to load the exchange file in a single step.
- Chunk size — the maximum size, in bytes, of each file chunk 1C uploads at a time.
- Use zip — whether 1C is allowed to send zip-compressed exchange files. Zip is more efficient for large catalogs.
To edit the sync settings:
- Go to Settings → Integrations → 1C:Enterprise.
- In the Sync settings section, click the action menu in the section's header.
- Choose Edit.
- In the side panel that opens, update the interval, chunk size, or zip setting.
- Click Save.
Edit Attribute IDs
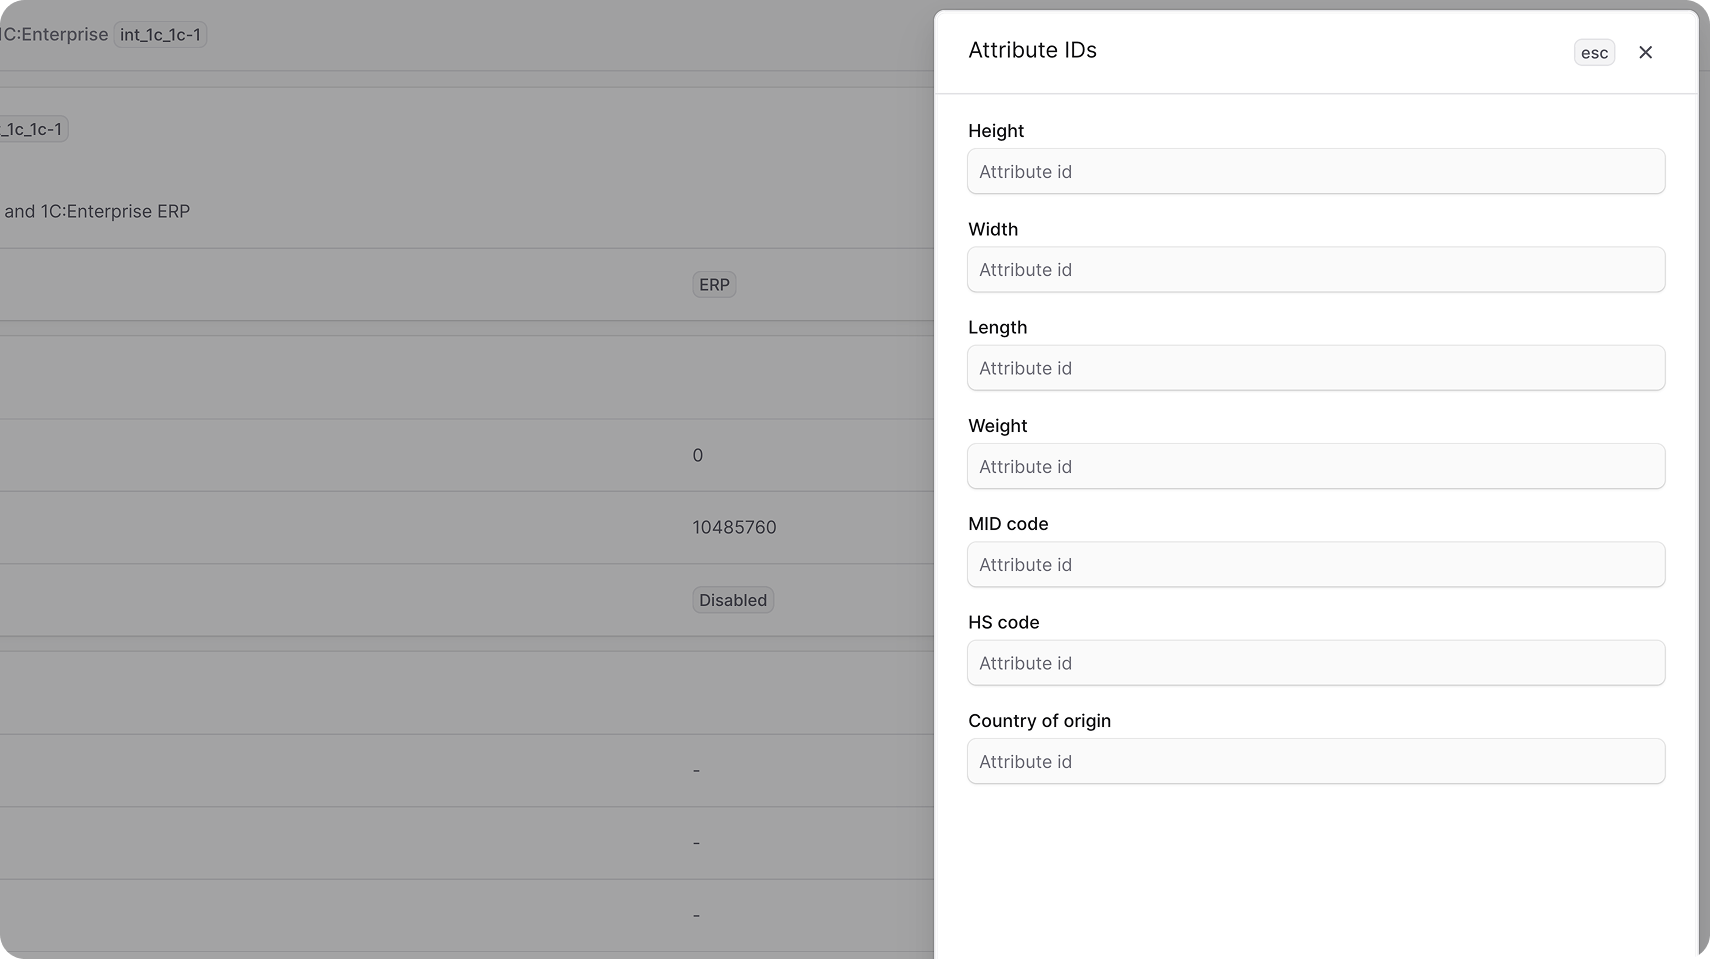
The Attribute IDs section maps 1C classifier property IDs to specific Medusa product fields: height, width, length, weight, MID code, HS code, and country of origin.
When products are imported from 1C, a property whose ID matches one of these mappings is written to the corresponding Medusa field instead of being created as a generic product option.
To edit the attribute IDs:
- Go to Settings → Integrations → 1C:Enterprise.
- In the Attribute IDs section, click the action menu in the section's header.
- Choose Edit.
- In the side panel that opens, enter the 1C property ID for each attribute you want to map.
- Click Save.