Manage ApiShip Settings in Medusa Admin
In this guide, you'll learn how to manage the ApiShip integration's details and connections.
View ApiShip Provider Details
To view the ApiShip provider's details:
- Open Medusa Admin.
- Go to Settings → ApiShip.
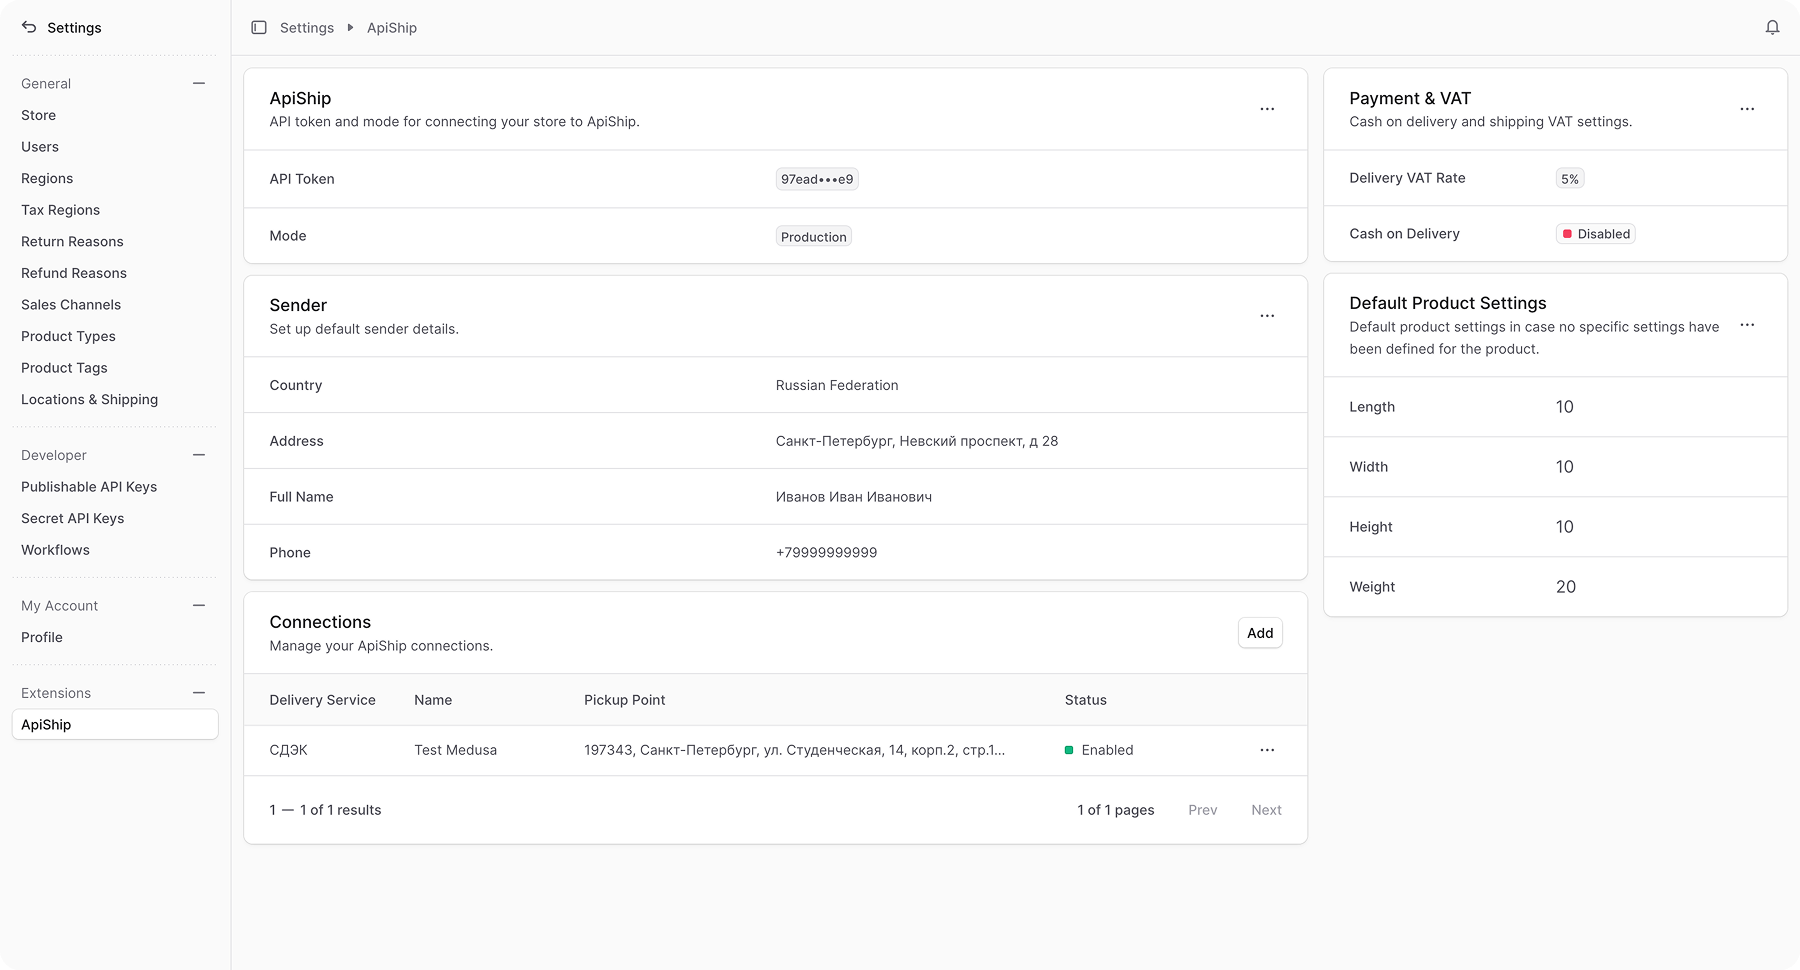
This opens the ApiShip settings page where you can review the provider's main details, sender information, default product parameters, payment settings, and connections.
Edit ApiShip Provider Details
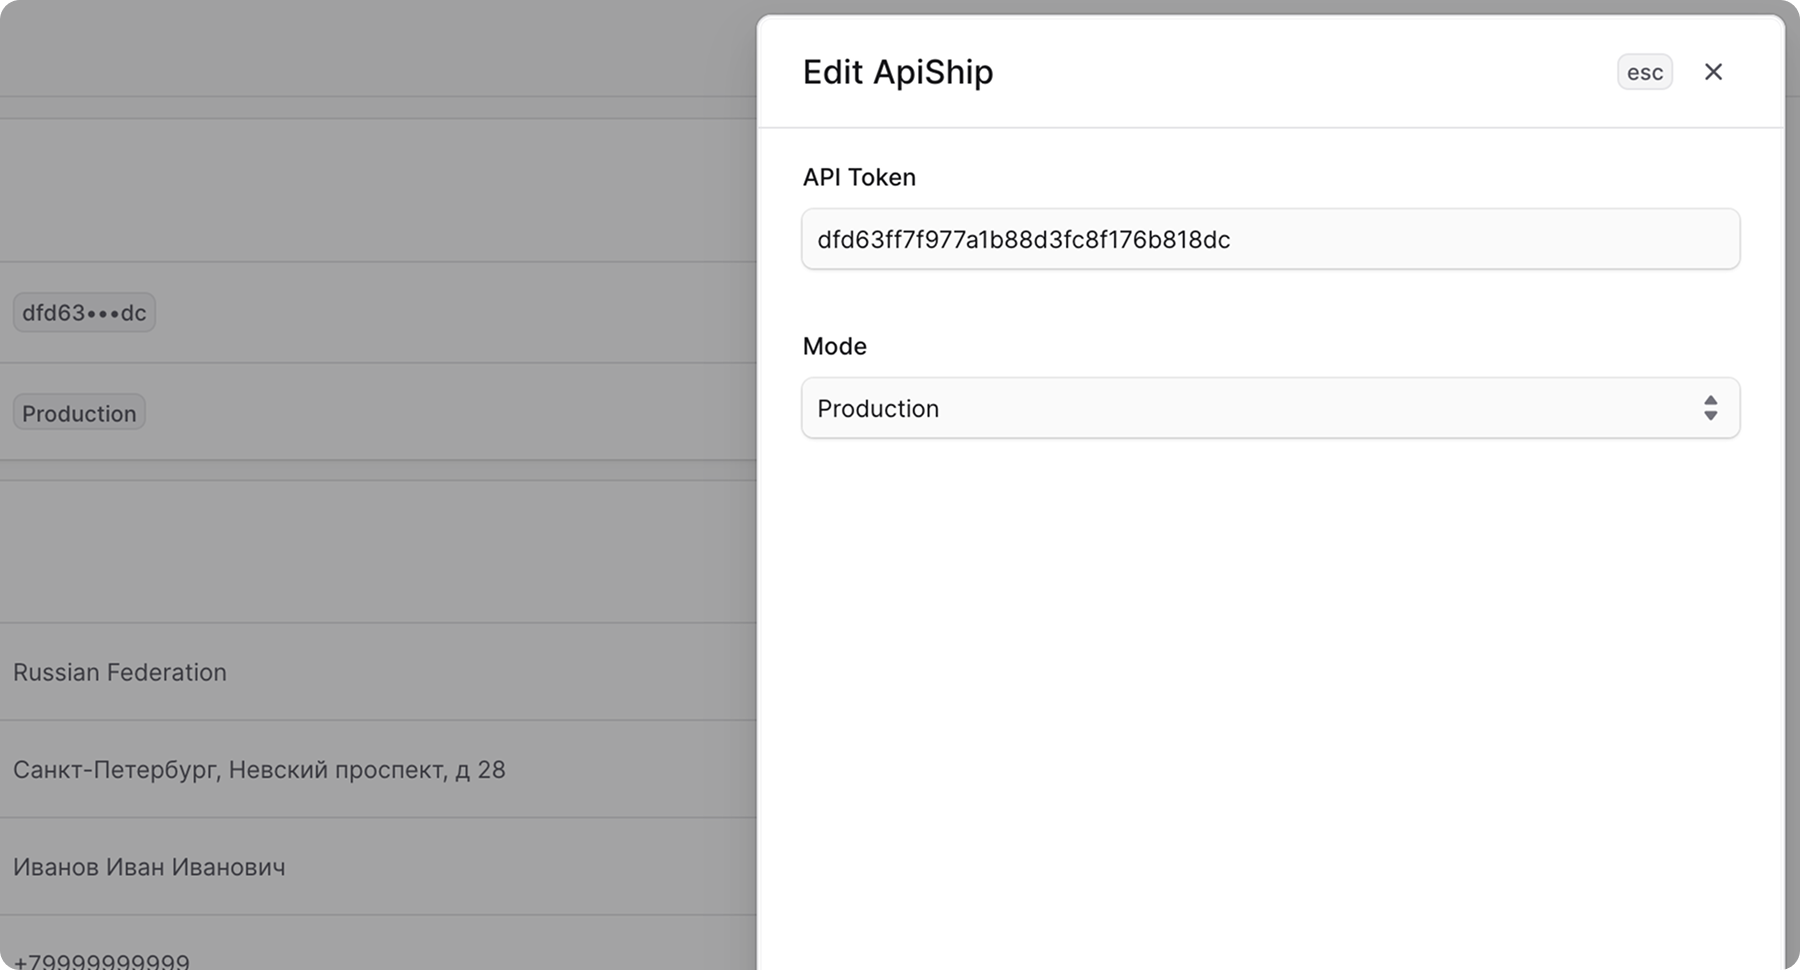
You can update the provider's API token and mode from the first section on the ApiShip settings page.
To edit the provider details:
- Go to Settings → ApiShip.
- In the ApiShip section, click the action menu in the section's header.
- Choose Edit.
- In the side panel that opens, update the API token or switch between test and production mode.
- Click Save.
Edit Default Store Address
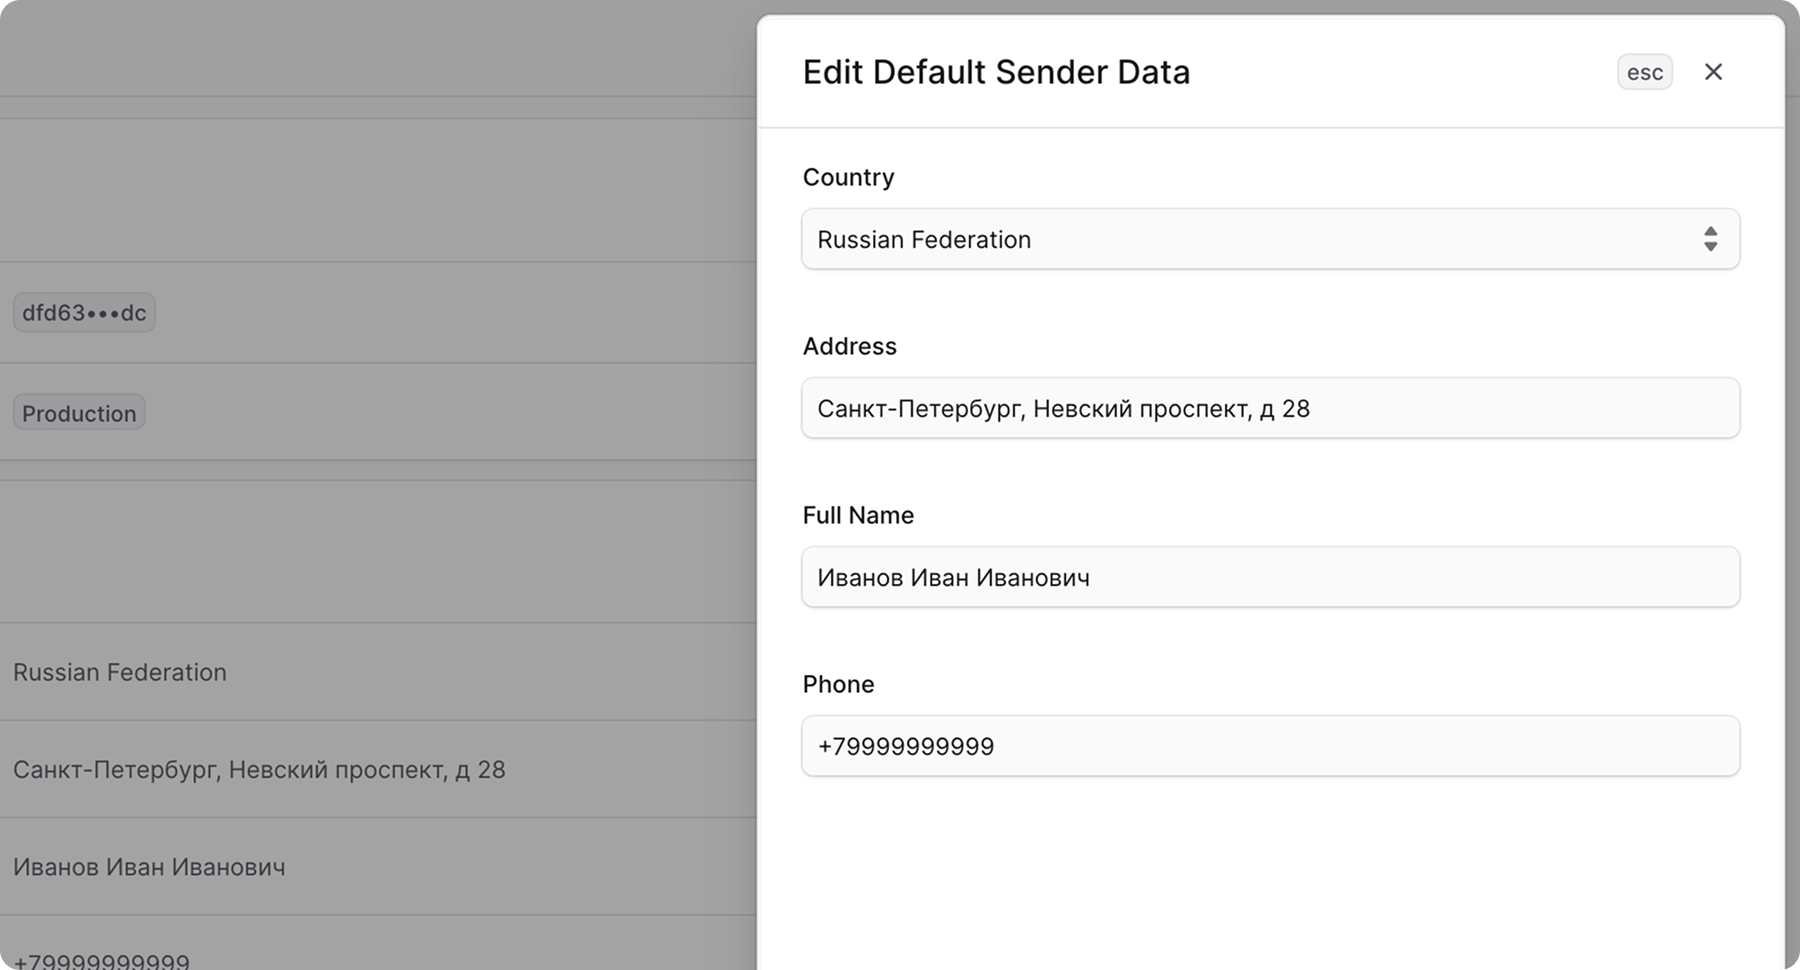
The Sender section stores the default sender details used when an order is created in ApiShip.
If the selected stock location has enough address details, the plugin uses that stock location's address in the order. If some sender details are missing there, the default sender details from this section are used as fallback values.
To edit the default sender details:
- Go to Settings → ApiShip.
- In the Sender section, click the action menu in the section's header.
- Choose Edit.
- In the side panel that opens, update the sender's country, address, contact name, or phone number.
- Click Save.
Edit Payment & Tax
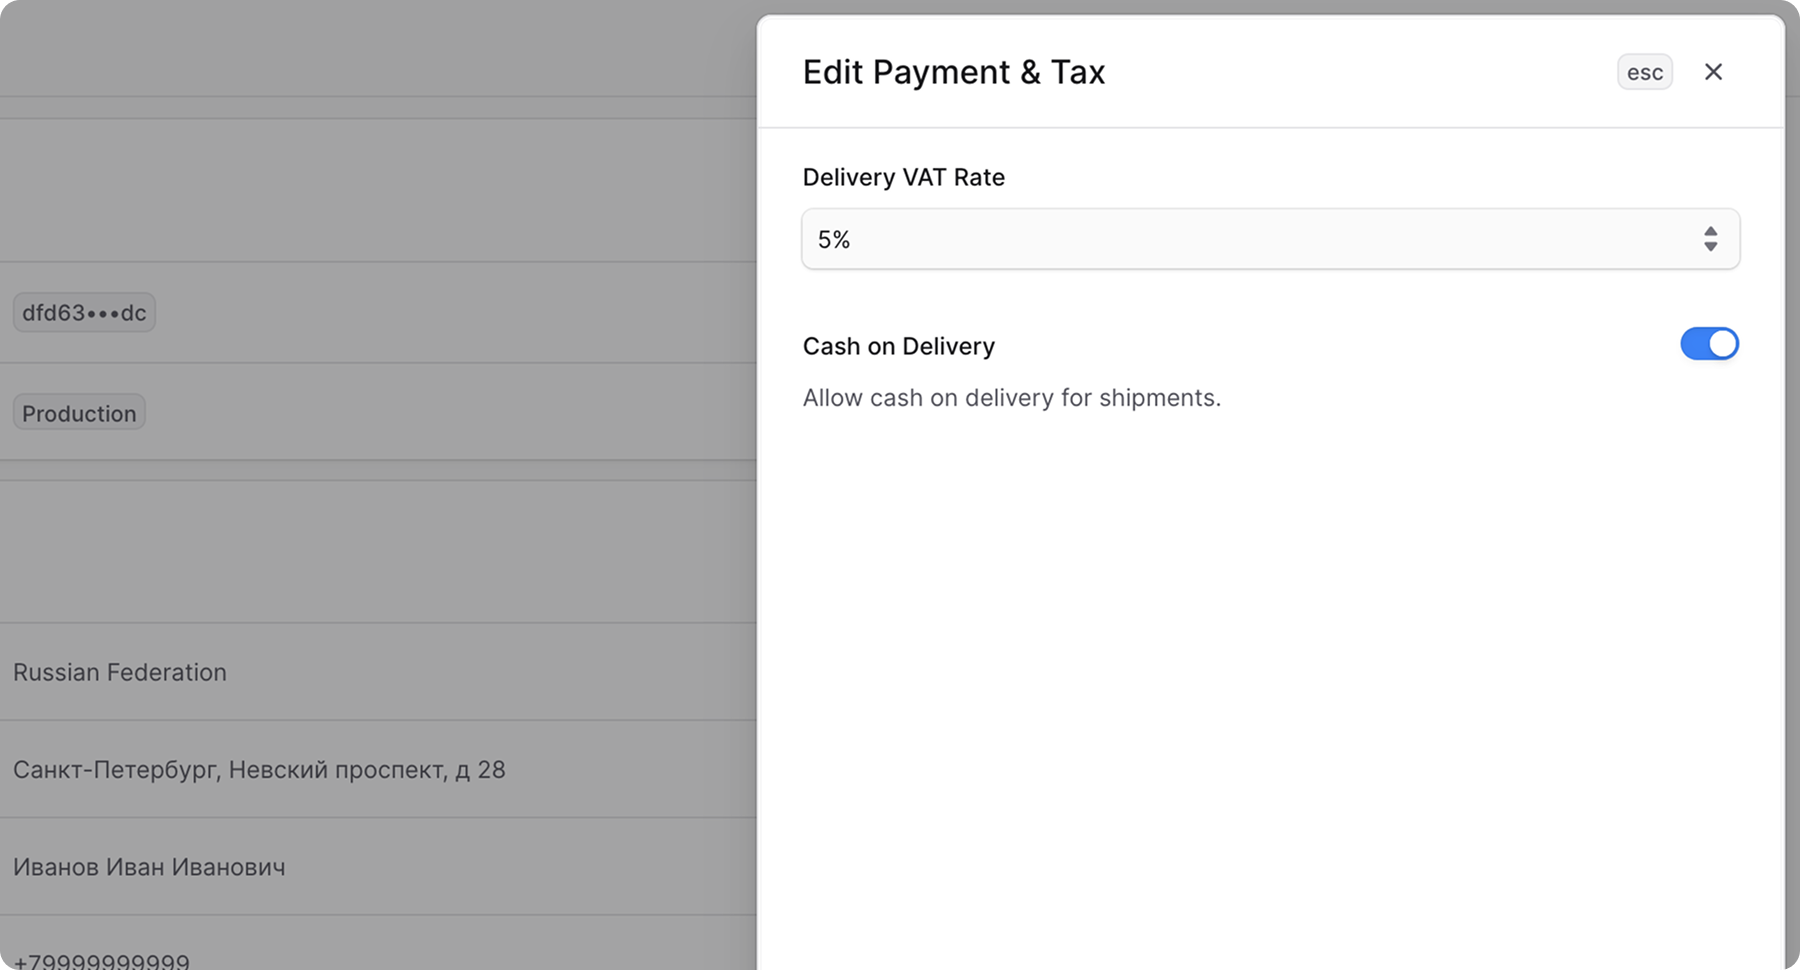
The Payment & VAT section controls how the plugin fills payment-related fields in created ApiShip orders.
If cash on delivery is enabled, the plugin sends the order's COD amount to ApiShip. The delivery VAT rate is also included in the created order when COD is enabled.
To edit the payment and VAT settings:
- Go to Settings → ApiShip.
- In the Payment & VAT section, click the action menu in the section's header.
- Choose Edit.
- In the side panel that opens, update the cash on delivery setting or the delivery VAT rate.
- Click Save.
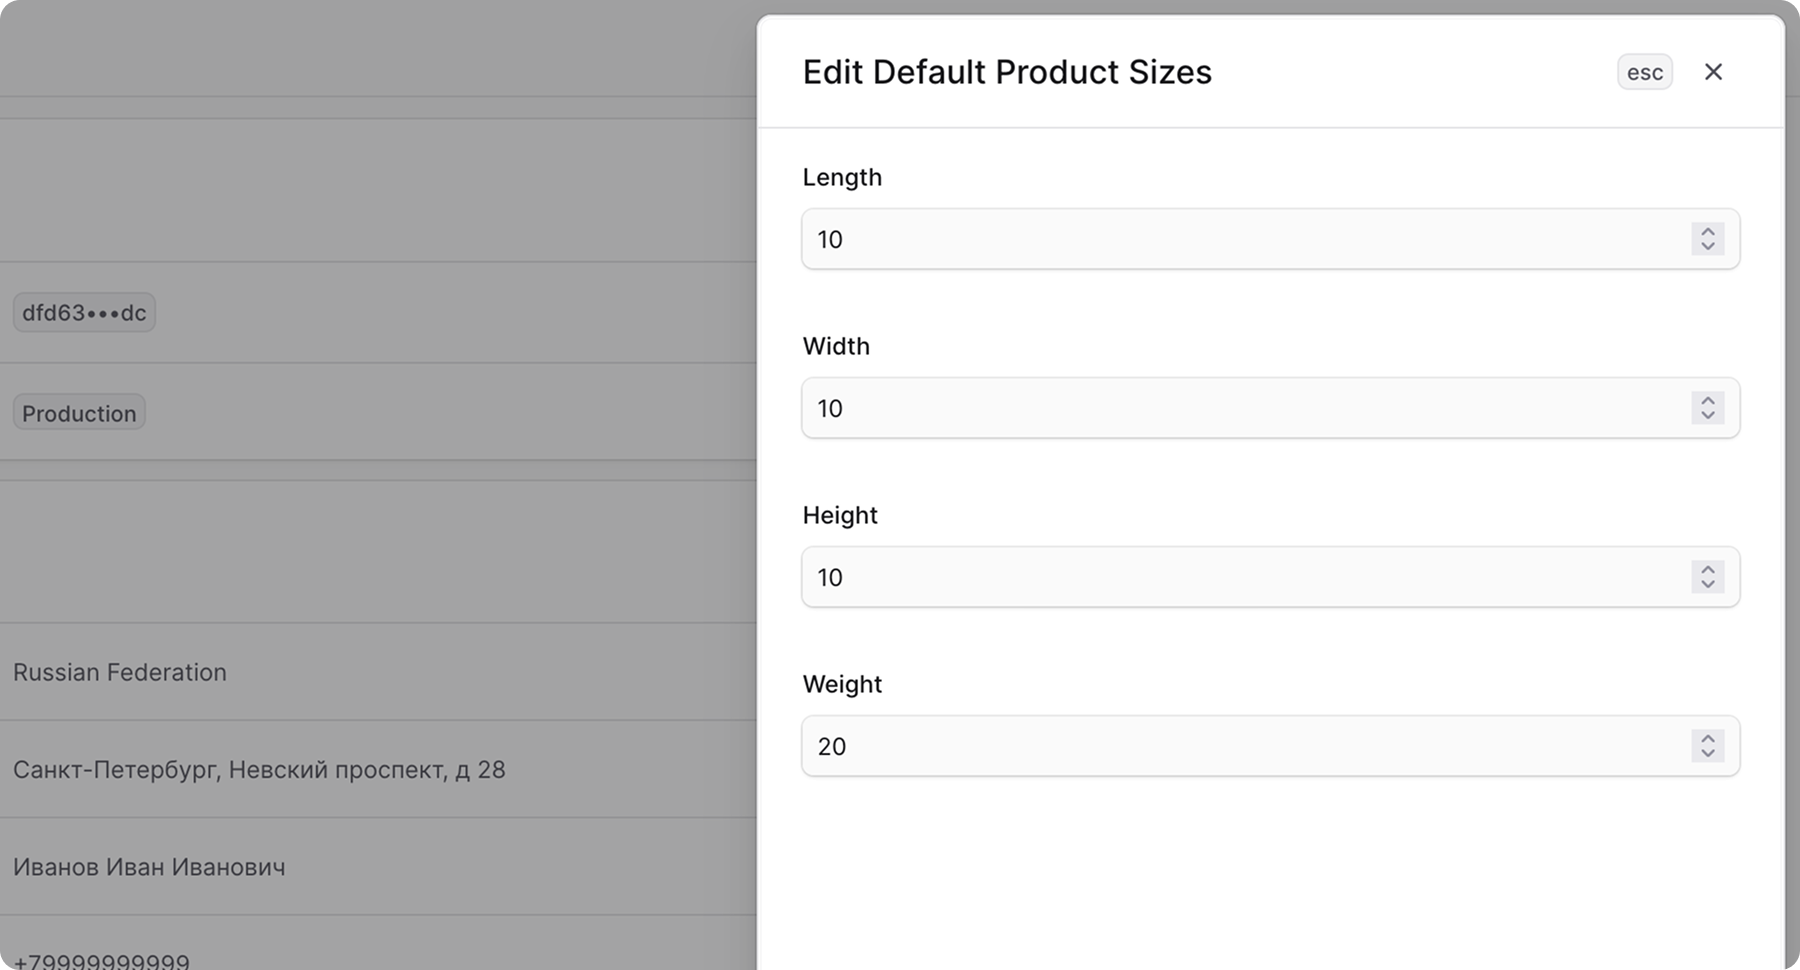
Edit Default Product Sizes
The Default Product Sizes section stores fallback dimensions and weight for products.
These values are used when creating an ApiShip order for items that don't have their own dimensions or weight defined on the product variant.
To edit the default product sizes:
- Go to Settings → ApiShip.
- In the Default Product Sizes section, click the action menu in the section's header.
- Choose Edit.
- In the side panel that opens, update the default length, width, height, and weight.
- Click Save.
Manage Connections
Connections link a delivery service in ApiShip to a specific ApiShip account connection. When an order is created, the plugin uses the enabled connection that matches the selected delivery service.
You can also optionally assign an intake point to a connection.
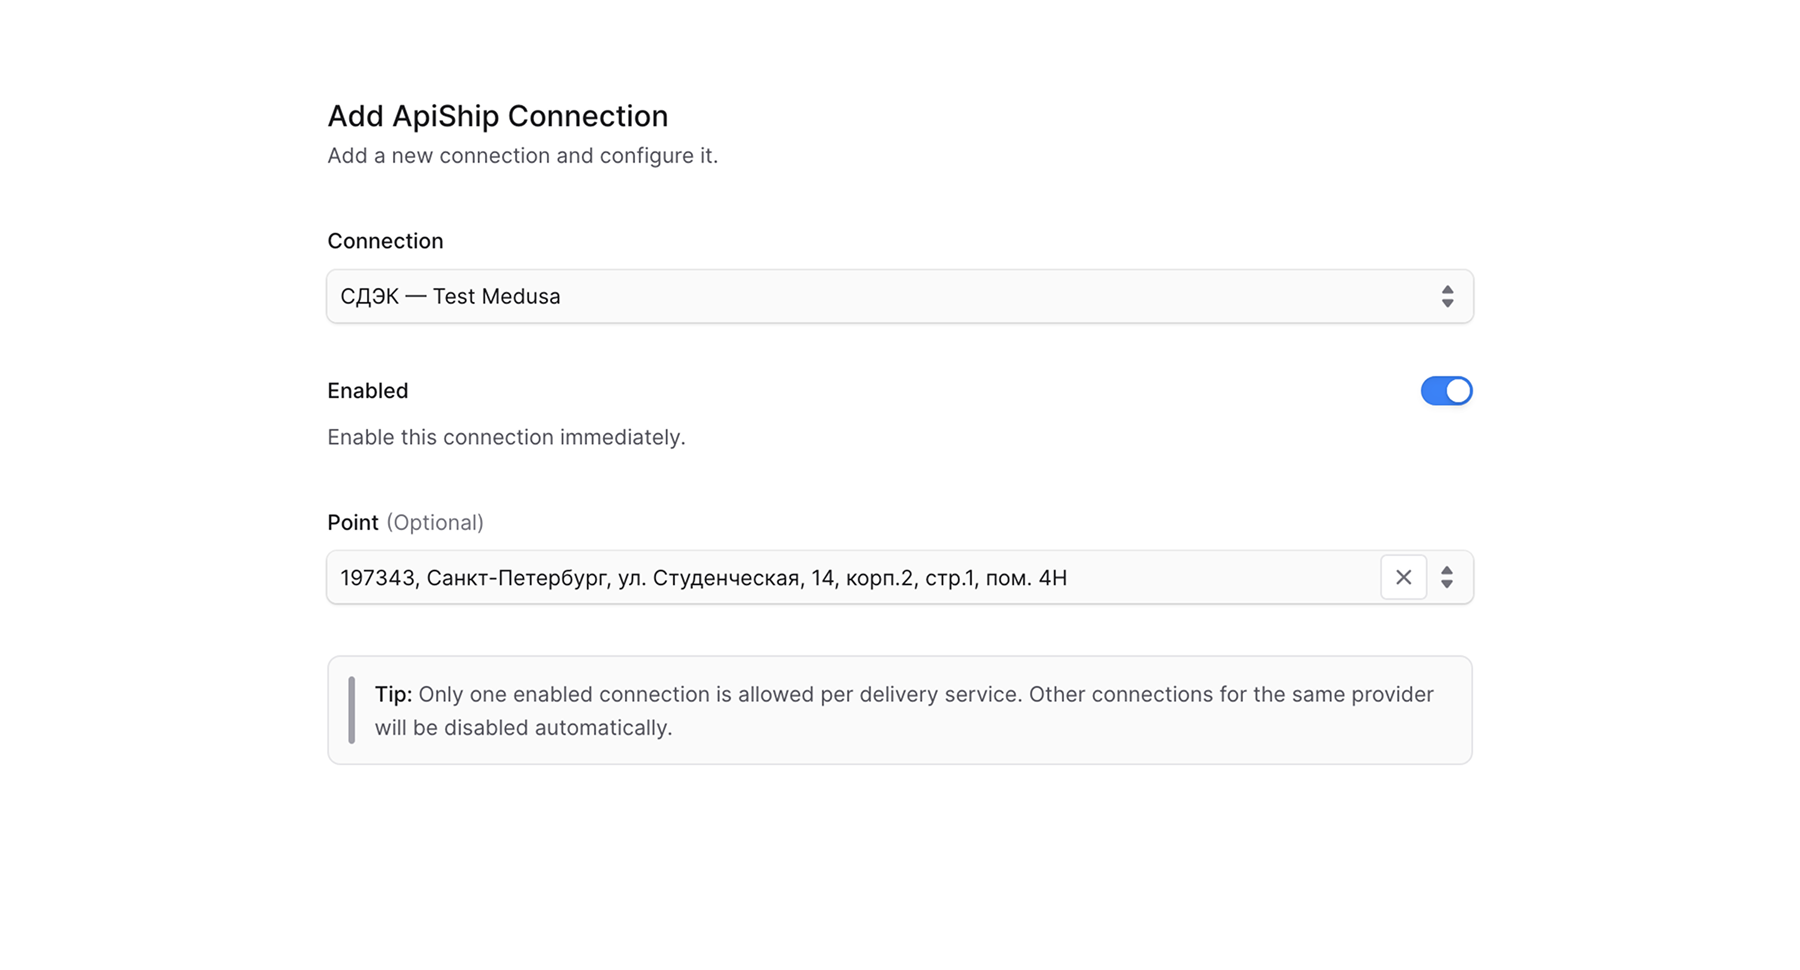
Add Connection
To add a connection:
- Go to Settings → ApiShip.
- In the Connections section, click Add.
- In the modal that opens:
- Choose an account connection.
- Optionally select an intake point.
- Choose whether the connection should be enabled immediately.
- Click Save.
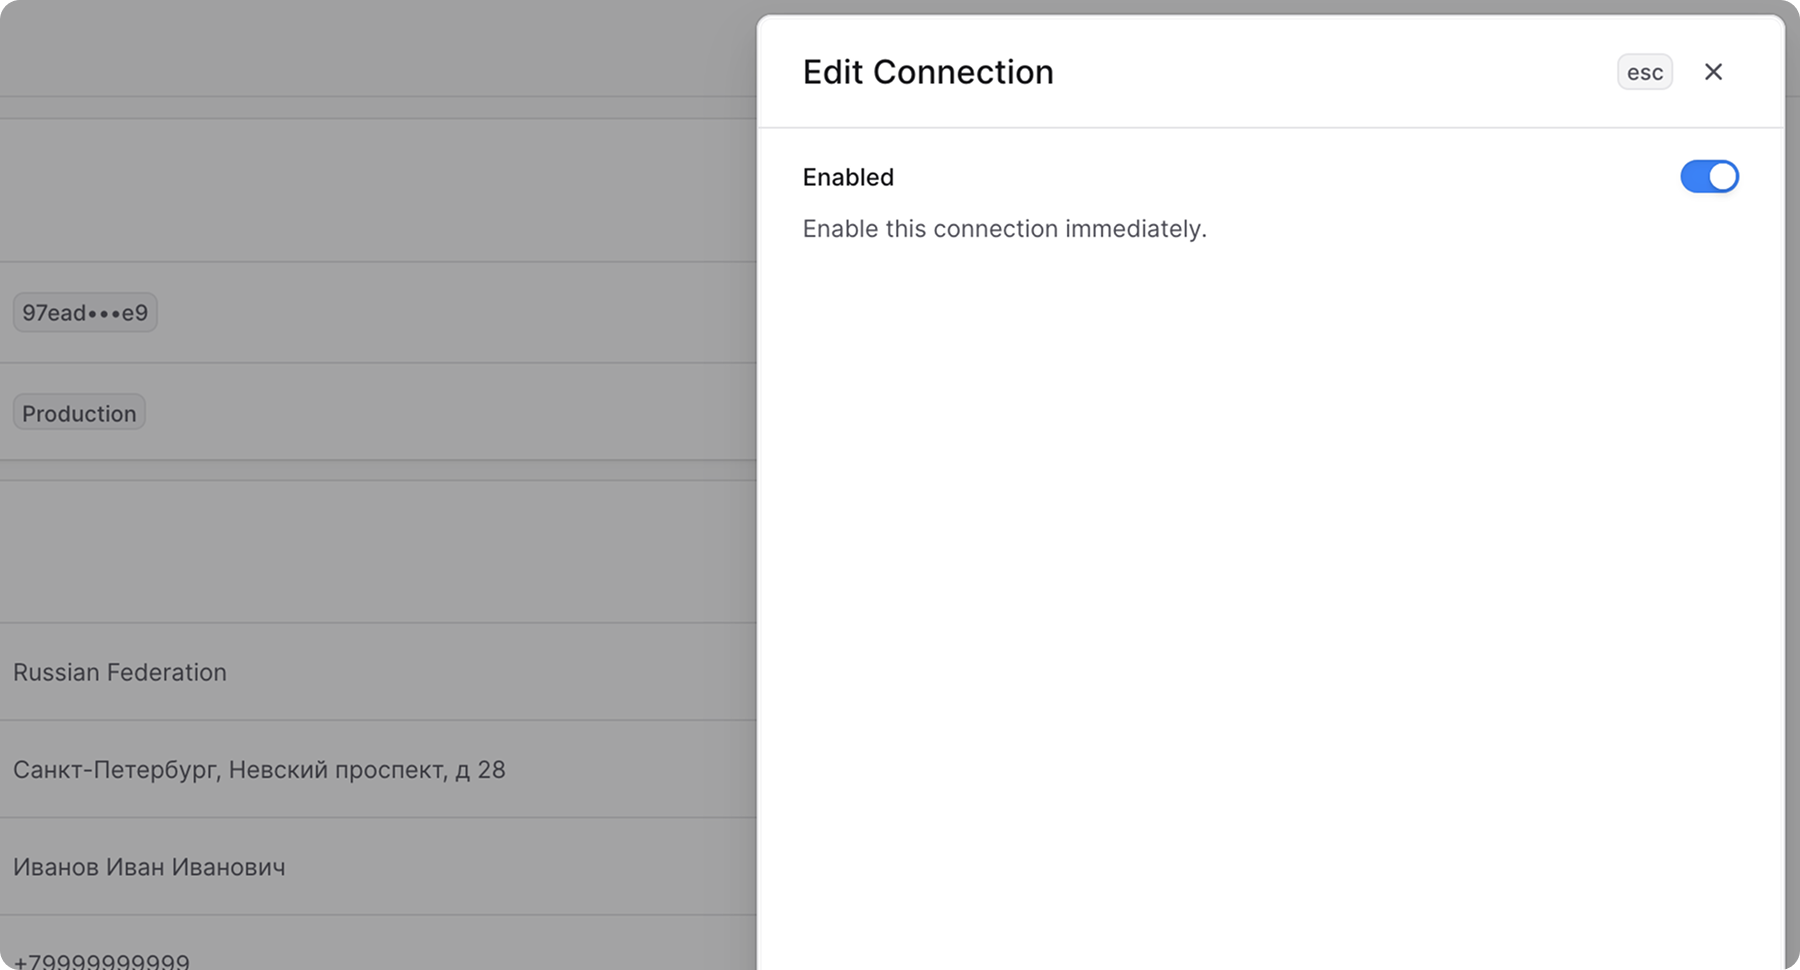
Edit Connection
To edit a connection:
- Go to Settings → ApiShip.
- In the Connections section, find the connection you want to update.
- Open the row's action menu.
- Choose Edit.
- In the side panel that opens, update the connection's enabled status.
- Click Save.
Remove Connection
To remove a connection:
- Go to Settings → ApiShip.
- In the Connections section, find the connection you want to remove.
- Open the row's action menu.
- Choose Delete.
- Confirm the deletion.
Add Shipping Options
To add a shipping option displayed in the Storefront for ApiShip:
- Go to Settings → Locations & Shipping.
- Choose your stock location.
- In the Shipping → Shipping options section, click Create option.
- In the modal that opens:
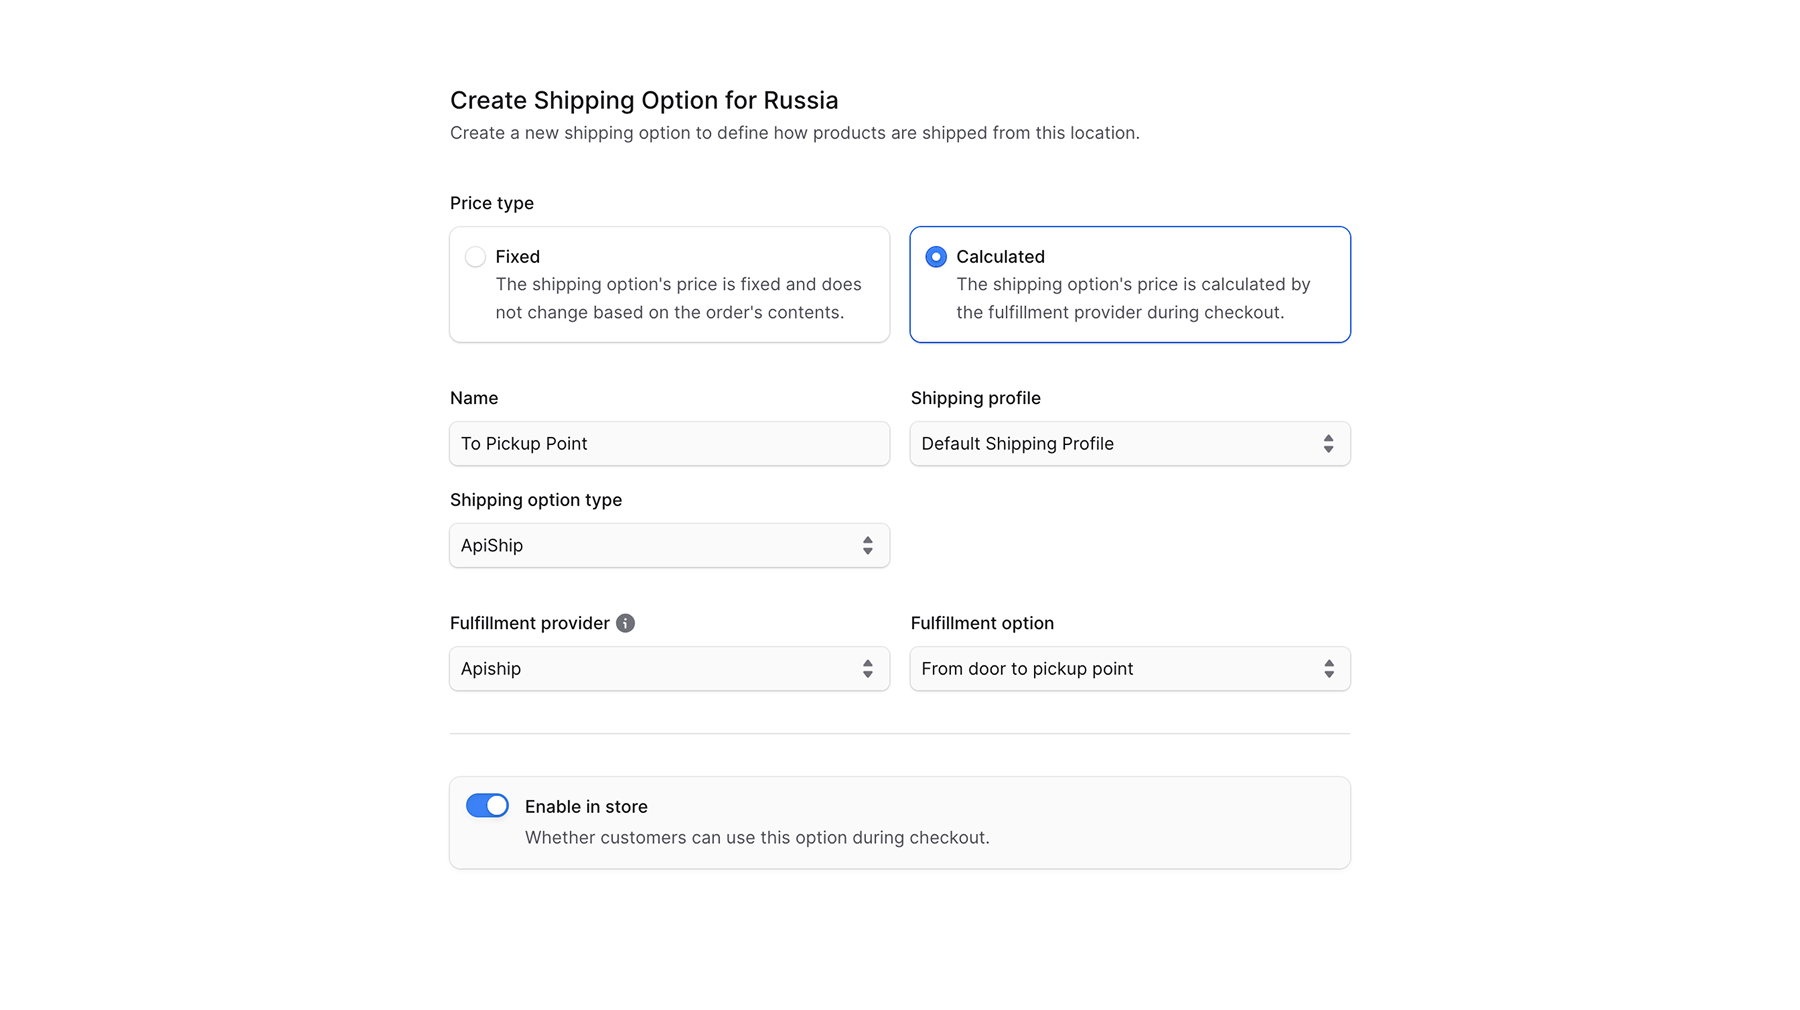
- Set the price type to Calculated.
- Specify the name of the shipping option.
- Select the profile and type of shipping option.
- Set the fulfillment provider to ApiShip.
- Choose one of the suggested fulfillment options:
- From door to door
- From door to pickup point
- From pickup point to door
- From pickup point to pickup point
- Leave the option Enable in store checked.
- Click Save.