Manage Authorize.net Settings in Medusa Admin
In this guide, you'll learn how to view and edit Authorize.net integration settings in Medusa Admin via the Integration Module.
View Authorize.net Details
To view the Authorize.net details:
- Open Medusa Admin.
- Go to Settings → Integrations → Authorize.net.
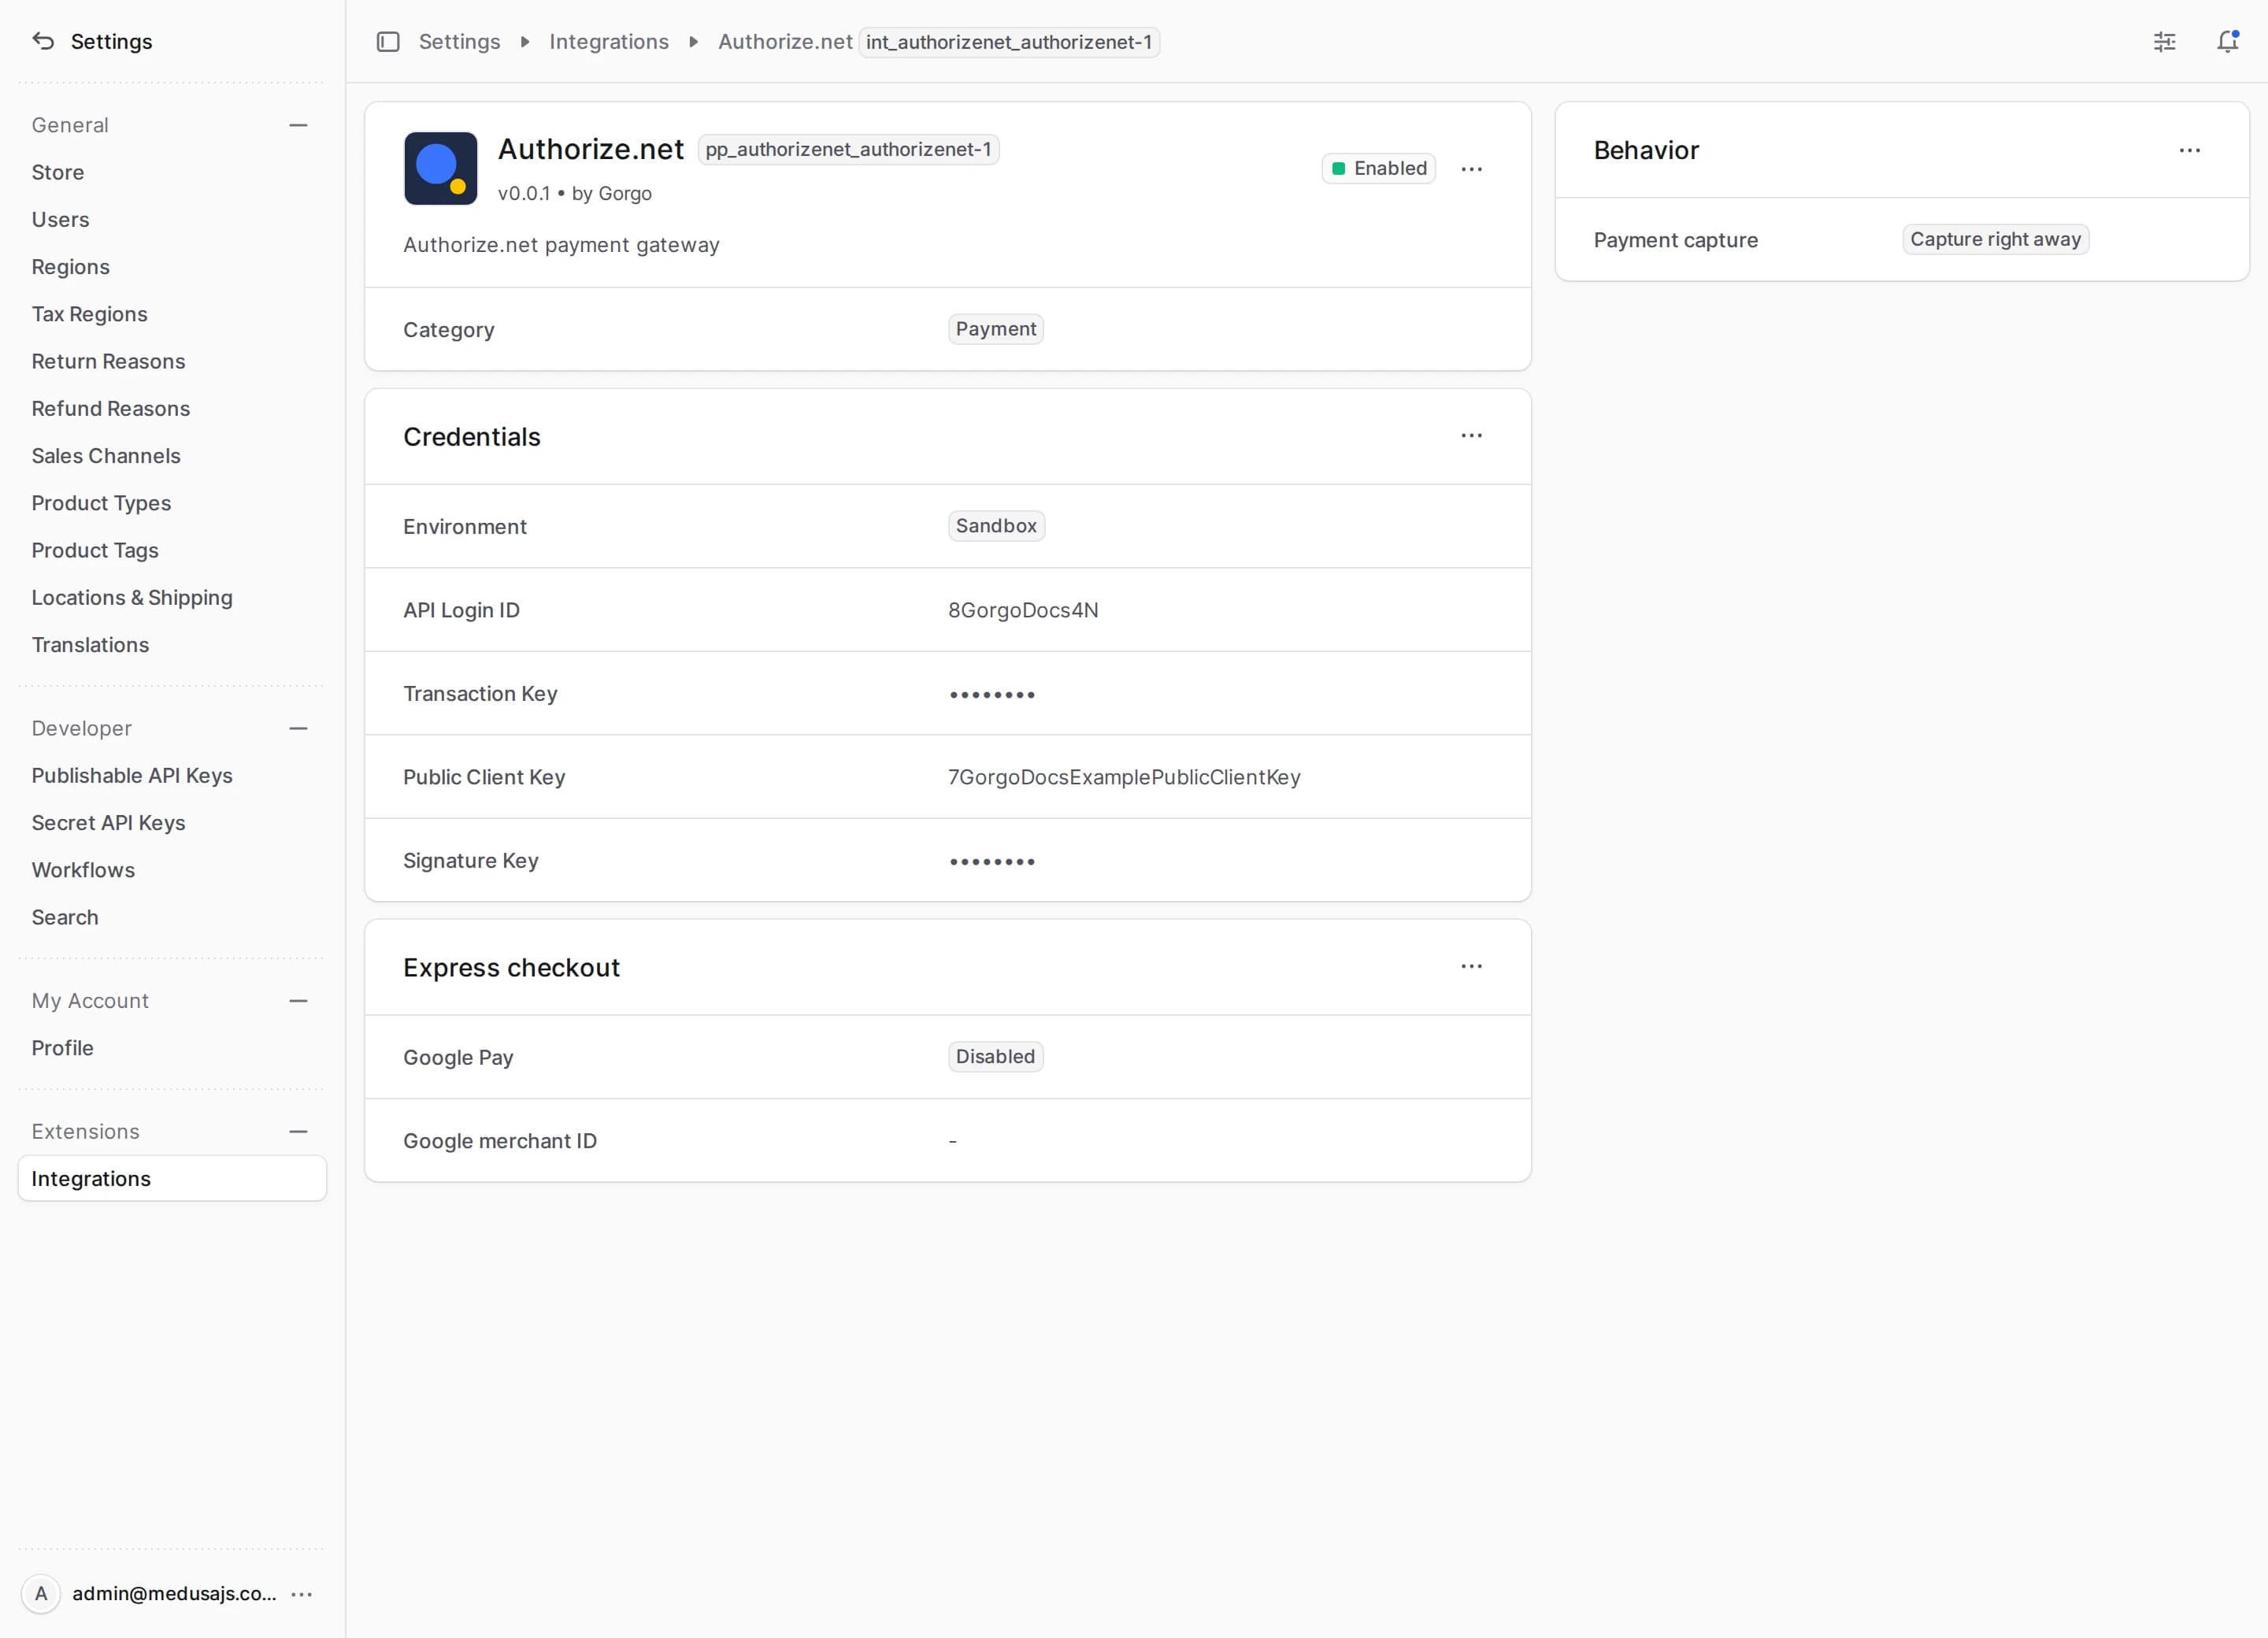
This opens the Authorize.net settings page where you can review the credential details, the payment capture and the express checkout.
Edit Authorize.net Credential Parameters
You can update the environment and the four keys from the first section on the Authorize.net settings page. Sandbox sends the payments to the Authorize.net sandbox, and Production sends them to your production account, and the keys of one environment do not work in the other. Where each key comes from in the Merchant Interface is listed in Account Setup.
To edit the credential parameters:
- Go to Settings → Integrations → Authorize.net.
- In the Credentials section, click the action menu in the section's header.
- Choose Edit.
- In the side panel that opens, update the environment, the API Login ID, the Transaction Key, the Public Client Key and the Signature Key. See Webhook Setup for what the Signature Key verifies.
- Click Save.
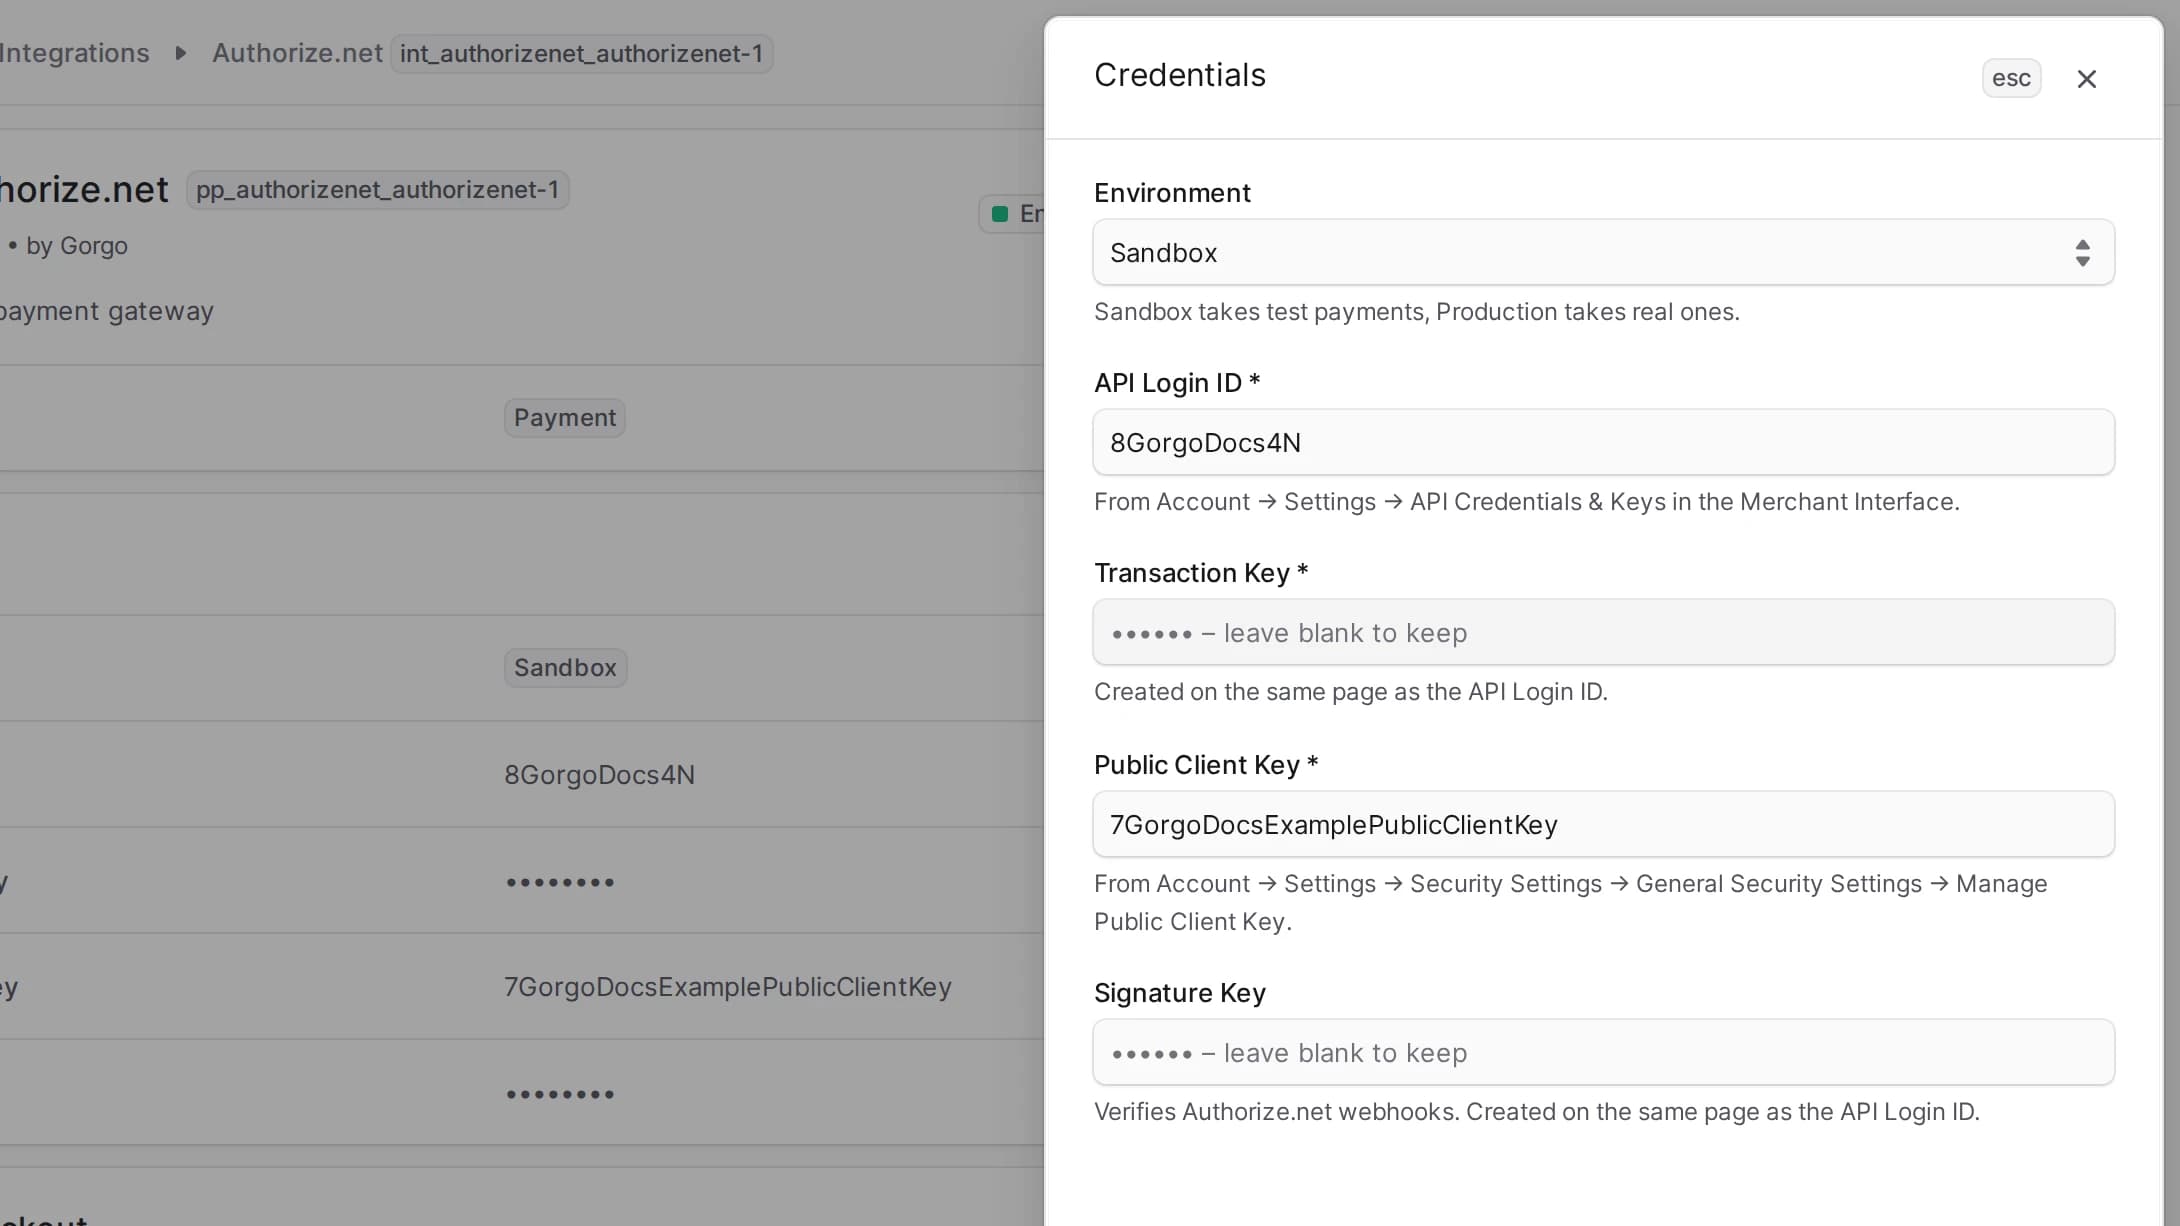
Then click Test connection. It reads your account from Authorize.net with the API Login ID and the Transaction Key, so wrong keys, or keys of the other environment, fail here. It also fails while the account is in Test Mode, which keeps no transactions. With a Signature Key, it checks that an active webhook whose URL contains sends , and . A passed check shows the account's currencies and its Payment Gateway ID.
Edit Behavior Type
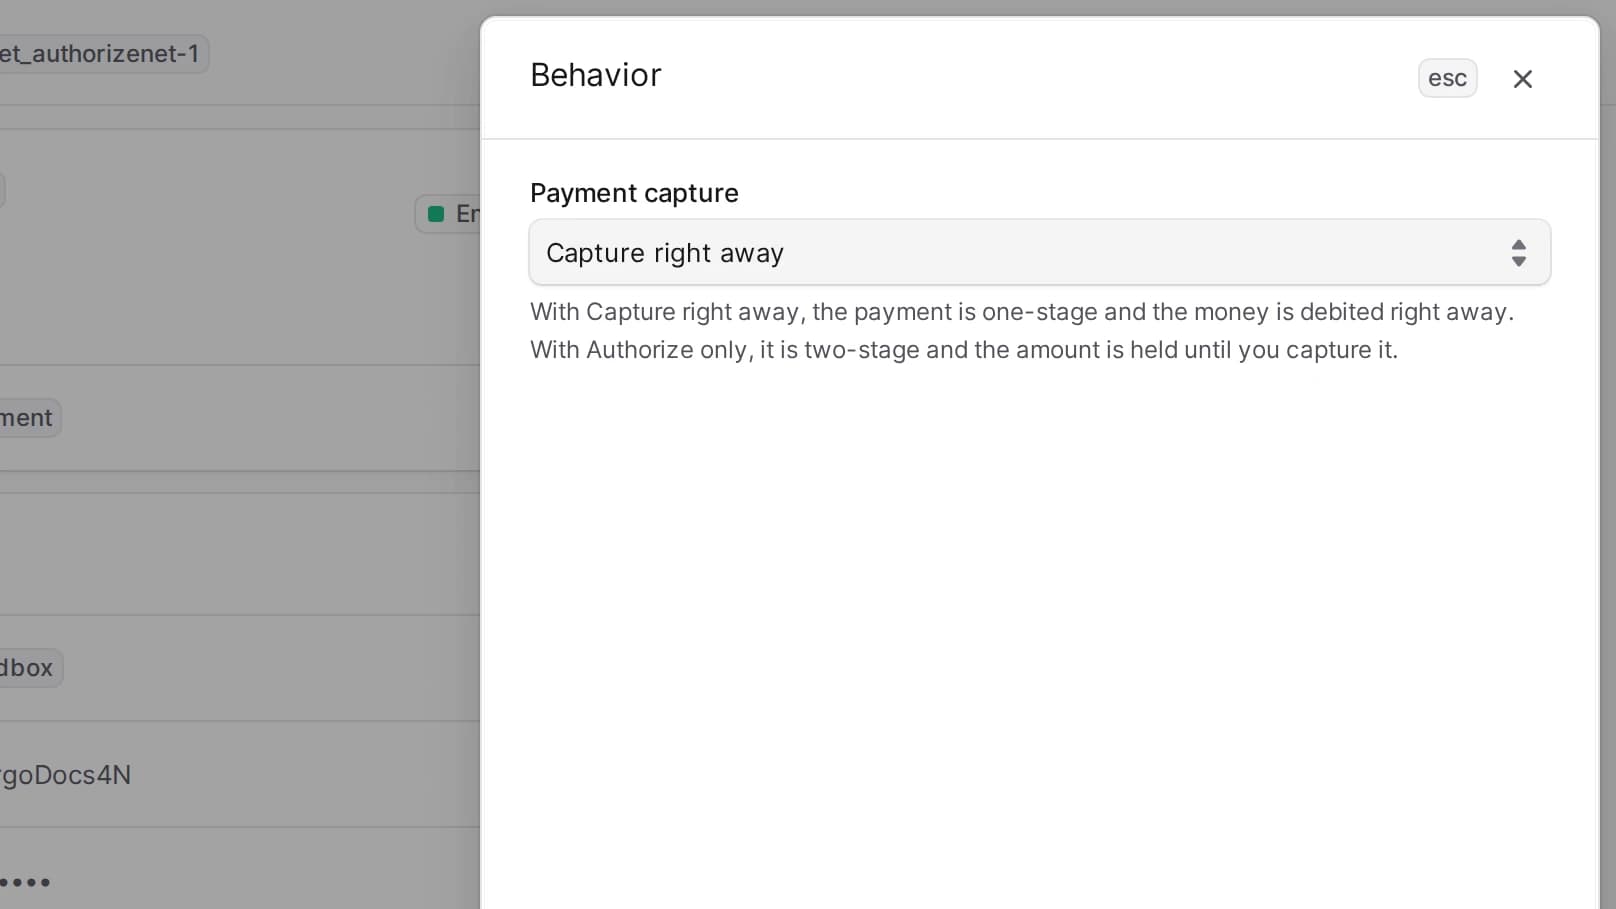
The Behavior section determines the payments processing type.
If Capture right away is selected, one-step payment is used. If Authorize only is selected, two-step payment is used, and you capture the held amount from the order in Medusa Admin. If the amount is not captured within 30 days, the authorization expires.
To edit the payment behavior:
- Go to Settings → Integrations → Authorize.net.
- In the Behavior section, click the action menu in the section's header.
- Choose Edit.
- In the side panel that opens, update the payment capture.
- Click Save.
Edit Express Checkout
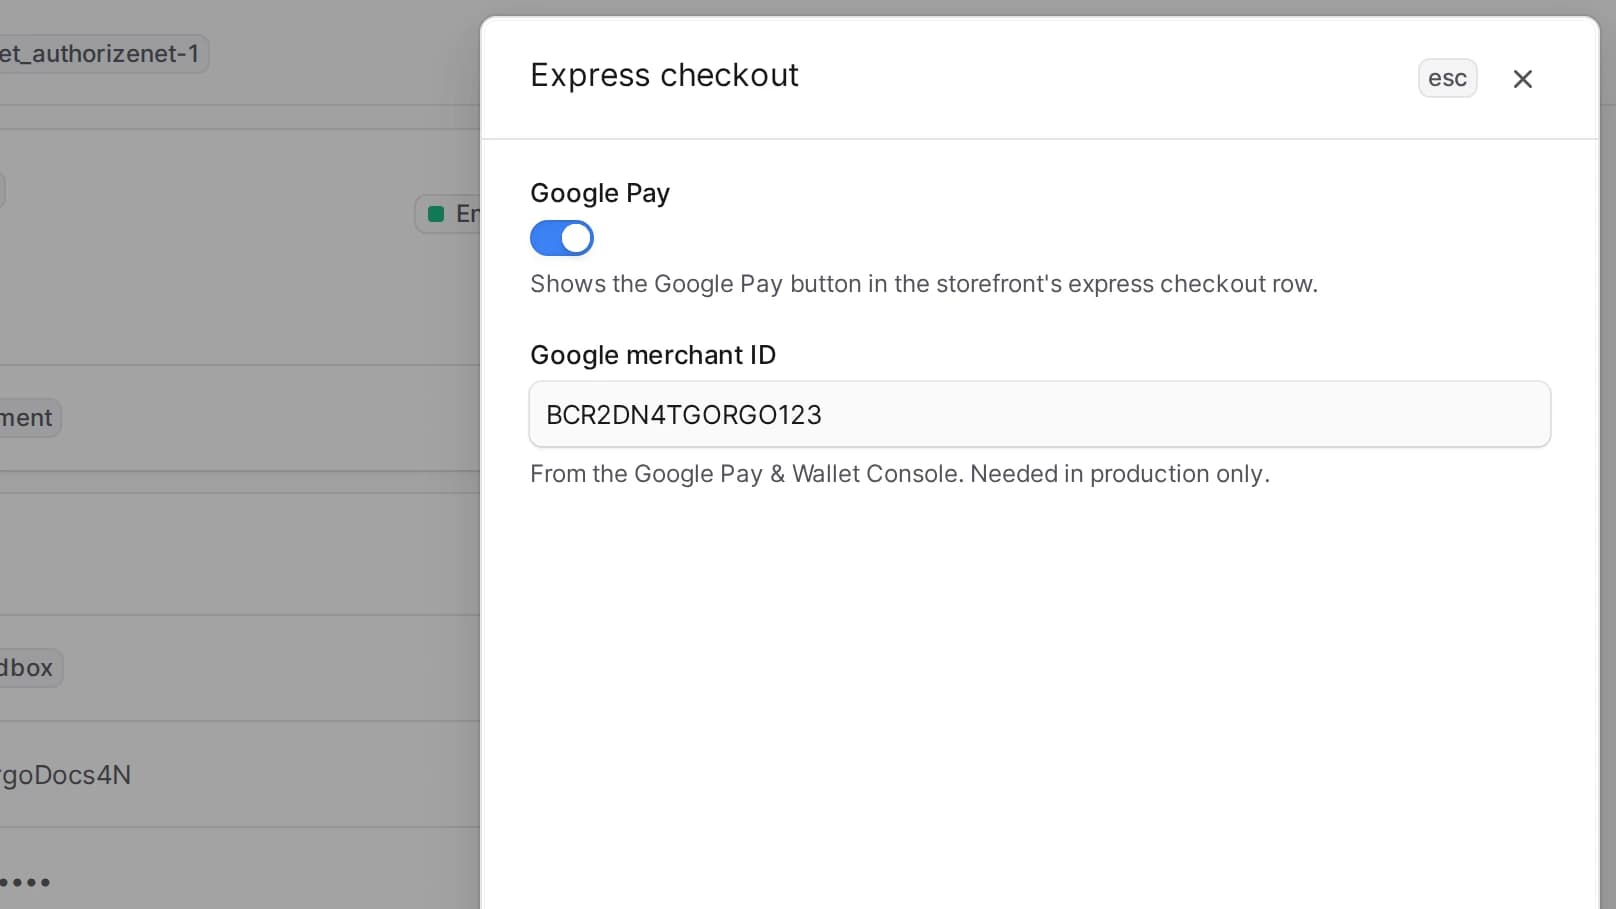
The Express checkout section turns the Google Pay button in the storefront's express checkout row on and off.
- Google Pay shows the button. In the sandbox it runs in Google Pay's test environment.
- Google merchant ID is your merchant ID from the Google Pay & Wallet Console. Google Pay needs it in production, and the settings refuse to switch Google Pay on in the production environment without it.
To edit the express checkout:
- Go to Settings → Integrations → Authorize.net.
- In the Express checkout section, click the action menu in the section's header.
- Choose Edit.
- In the side panel that opens, update the Google Pay switch and the Google merchant ID.
- Click Save.
Add Payment Provider
To add a payment provider displayed in the Storefront for Authorize.net:
- Go to Settings → Regions.
- Choose your region.
- In the first section, click the action menu in the section's header.
- Choose Edit.
- In the modal that opens, add Authorizenet (AUTHORIZENET) to Payment Providers.
- Click Save.
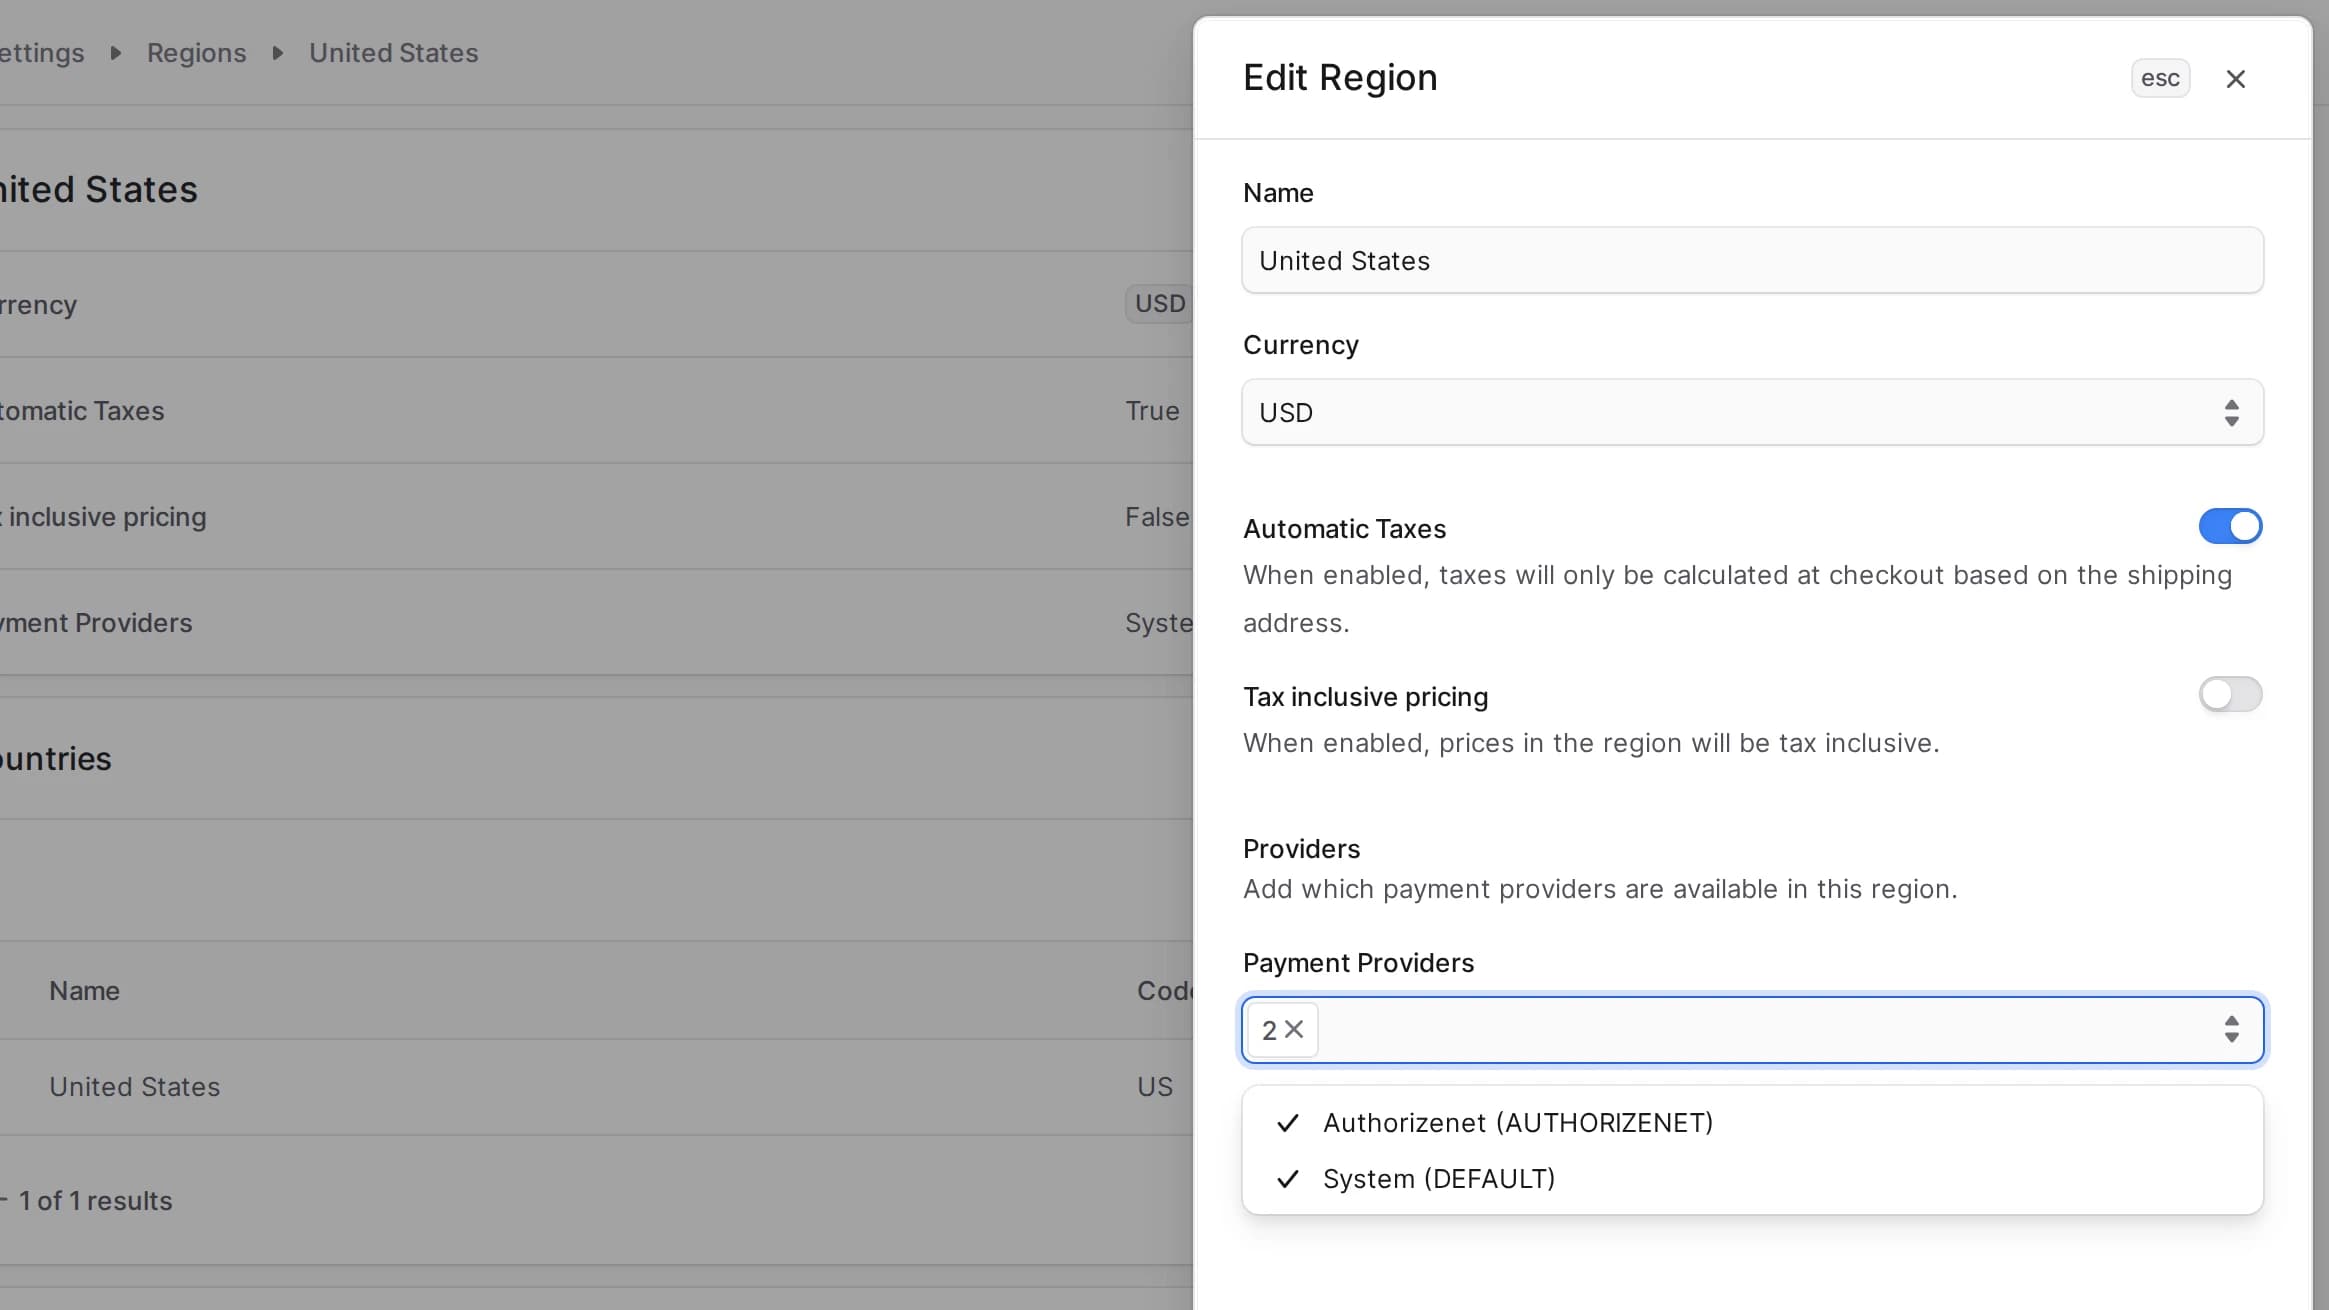
Add Authorize.net only to regions in the currency of your Authorize.net account. An account takes payments in one currency, set when the account is created, and Test connection shows it.
Refunds Before and After Settlement
Authorize.net settles captured payments once a day, at the transaction cut-off time of your account, and takes refunds only for settled payments. The plugin handles a refund from Medusa Admin depending on the payment's state:
- After settlement, the refund goes to the card the customer paid with. You can refund in several parts, up to the captured amount.
- Before settlement, a refund of the whole payment voids it. If Authorize.net refuses the void, the refund fails, and you refund after settlement. A partial refund is refused with a message to refund the full amount now or the part after settlement.
Transactions Held for Review
When a filter of the Fraud Detection Suite in your Authorize.net account holds a transaction for review, the order is placed without a payment and waits for your decision in the Merchant Interface. Approving the transaction adds the payment to the order through the webhook. Declining it is written to the log as a warning, and you cancel the order in Medusa Admin yourself.
Refunds and Voids in the Merchant Interface
Make refunds and cancellations from the order in Medusa Admin. A refund or a void made in the Merchant Interface does not reach Medusa, and the order keeps its amounts. If you also subscribe the webhook to and , the plugin writes them to the log, so you can find them there. A capture made in the Merchant Interface does reach Medusa through .