Manage Mollie Settings in Medusa Admin
In this guide, you'll learn how to view and edit Mollie integration settings in Medusa Admin via the Integration Module.
View Mollie Details
To view the Mollie details:
- Open Medusa Admin.
- Go to Settings → Integrations → Mollie.
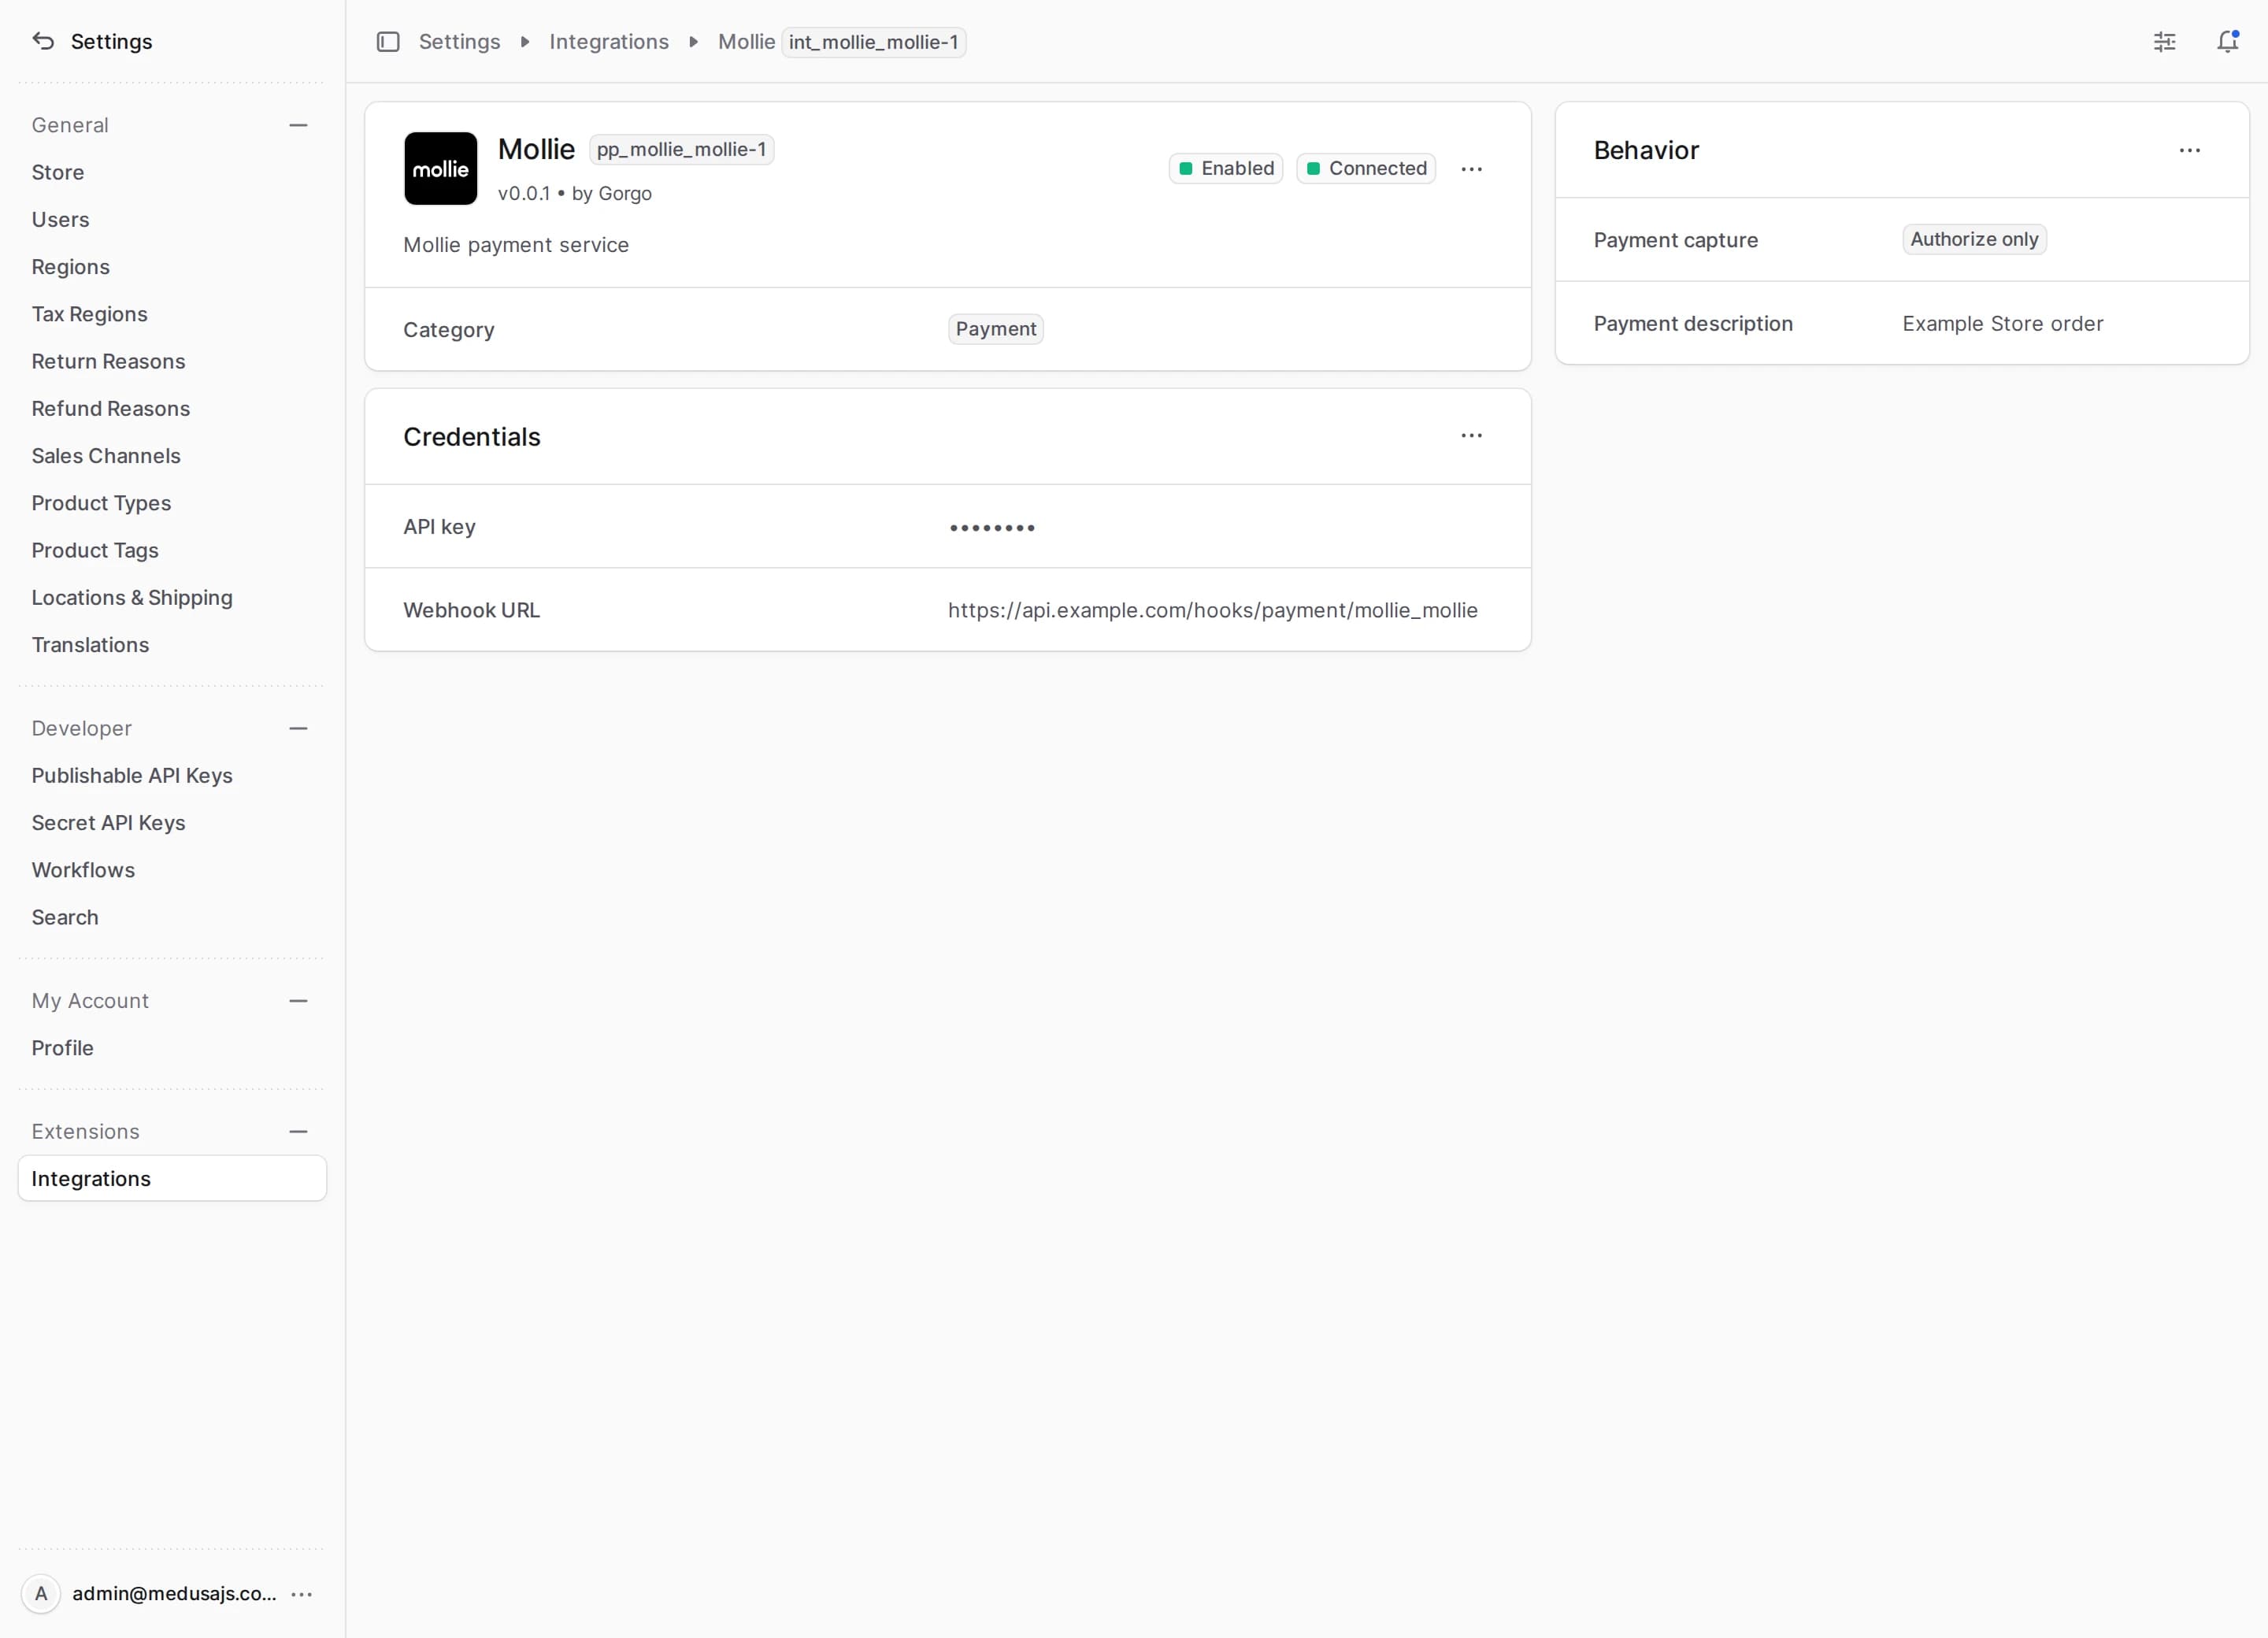
This opens the Mollie settings page where you can review the credential details, the payment capture and the payment description.
Edit Mollie Credential Parameters
You can update the API key and the webhook URL from the first section on the Mollie settings page. A key starting with creates test payments, and one starting with creates real ones. Where the key comes from is described in Account Setup.
To edit the credential parameters:
- Go to Settings → Integrations → Mollie.
- In the Credentials section, click the action menu in the section's header.
- Choose Edit.
- In the side panel that opens, update the API key and the webhook URL. See Webhook Setup for the URL's format.
- Click Save.
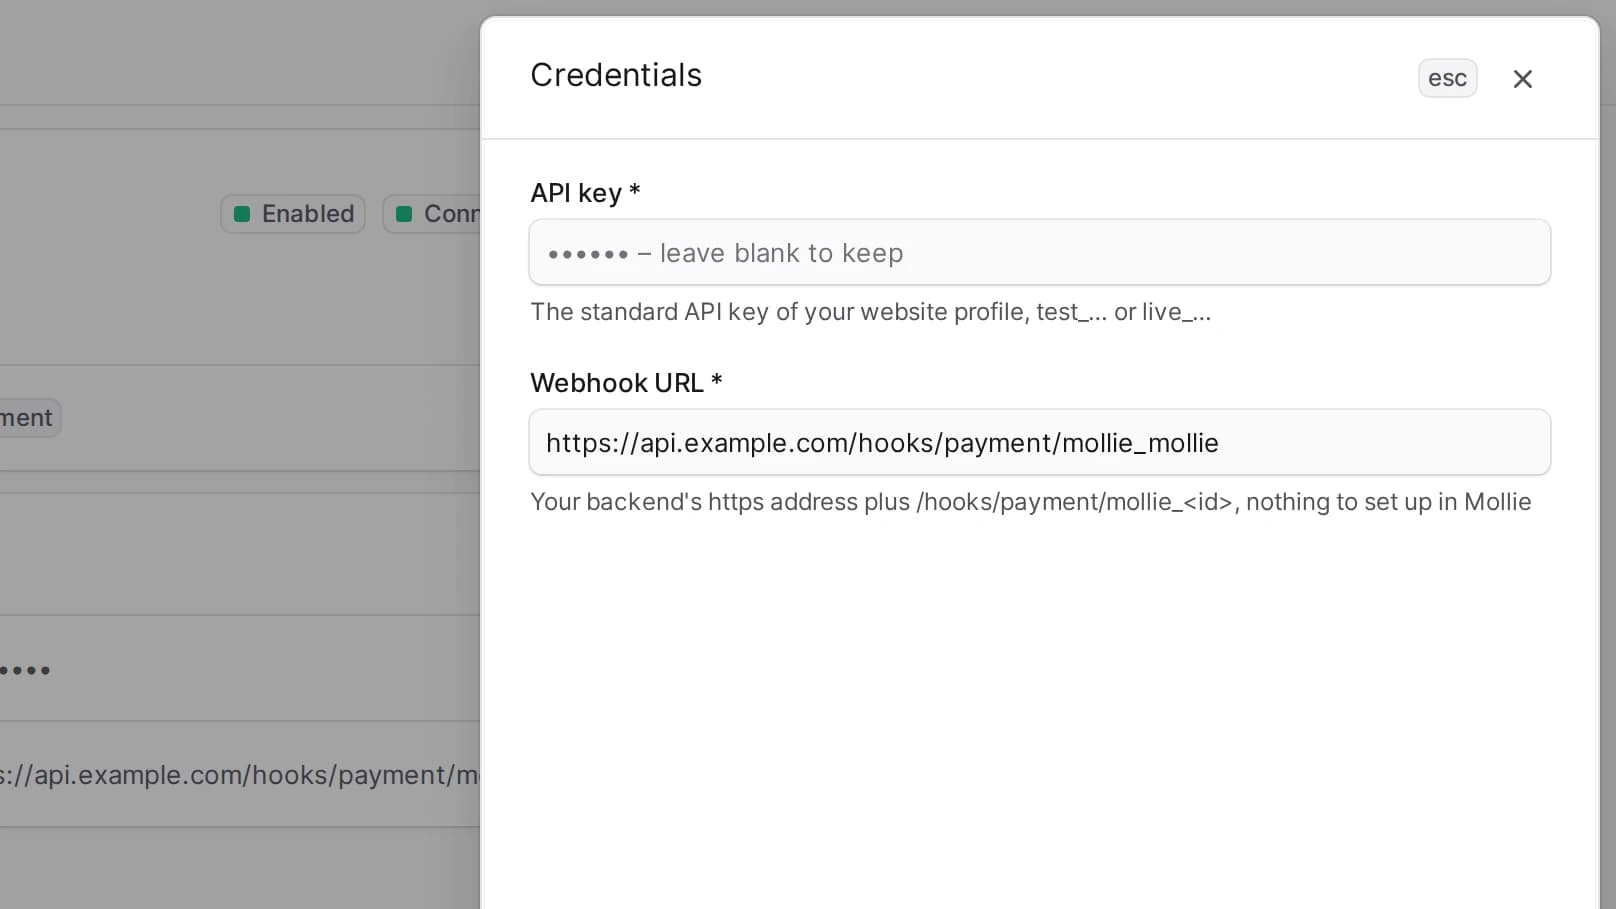
Then click Test connection. It reads from Mollie the website profile the API key belongs to, so a wrong or revoked key fails here. It also fails for a webhook URL that does not start with or does not contain . A passed check shows the key's mode, or , and the profile's name, ID and status.
Edit Behavior Type
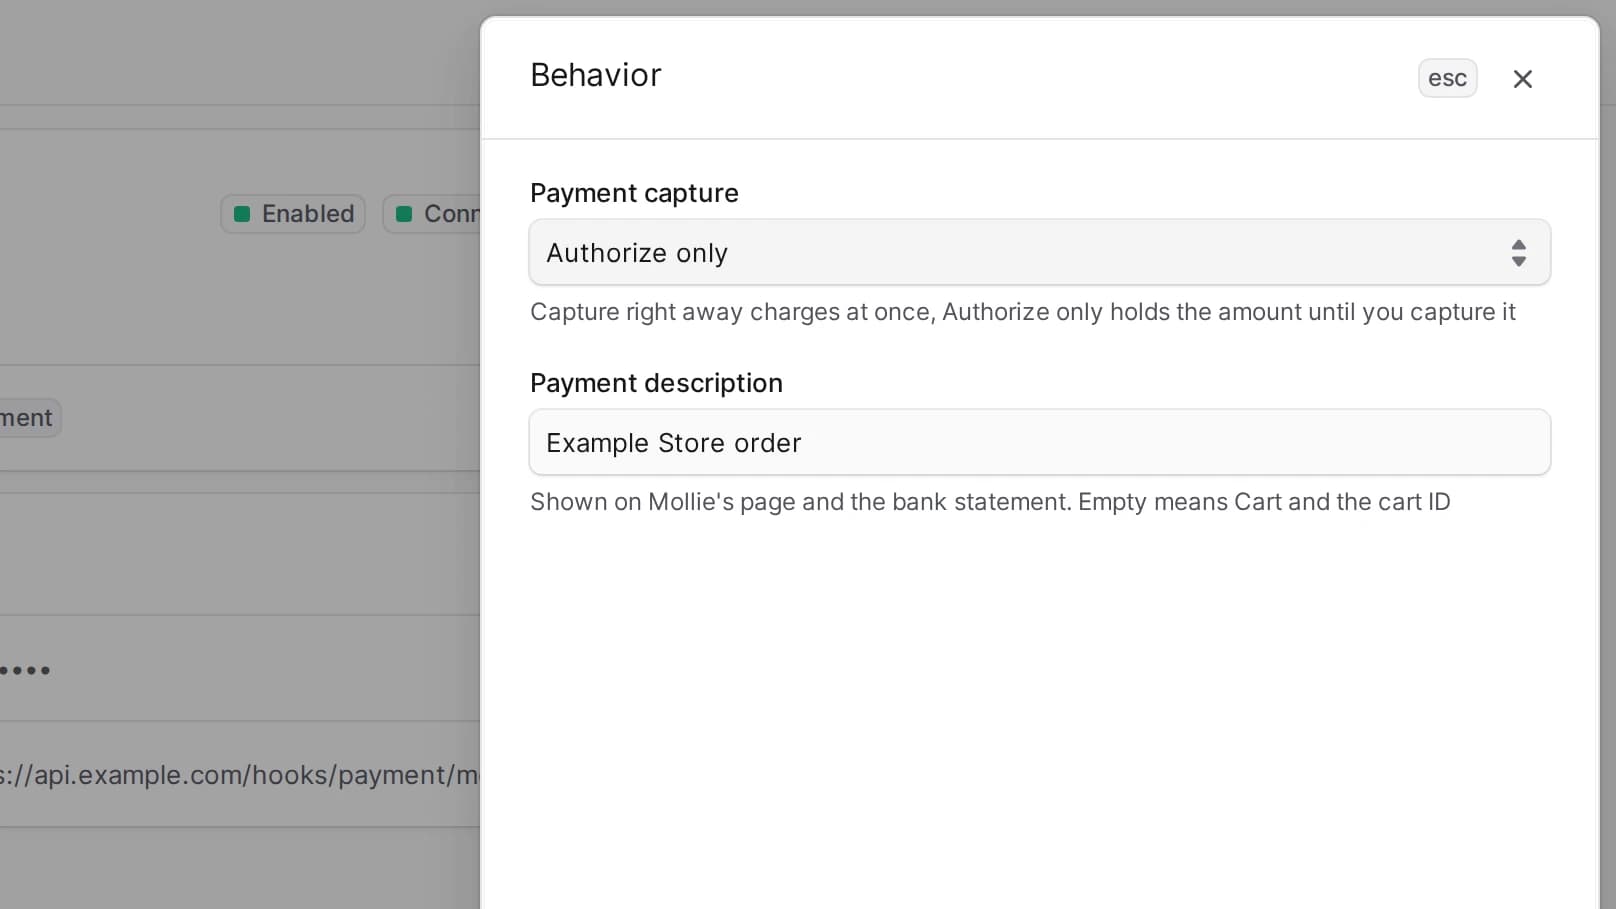
The Behavior section determines the payments processing type and what the buyer reads about the payment.
If Capture right away is selected, one-step payment is used. If Authorize only is selected, two-step payment is used, and you capture the held amount from the order in Medusa Admin. Only cards, Klarna, Billie, Riverty and a few other methods can hold an amount. A card authorization expires after 7 to 30 days, depending on the card brand, and Mollie does not extend it.
Payment description is what the buyer sees on Mollie's payment page and on the bank statement, up to 255 characters. When it is empty, the plugin uses the word Cart and the cart's ID.
To edit the payment behavior:
- Go to Settings → Integrations → Mollie.
- In the Behavior section, click the action menu in the section's header.
- Choose Edit.
- In the side panel that opens, update the payment capture and the payment description.
- Click Save.
Add Payment Provider
To add a payment provider displayed in the Storefront for Mollie:
- Go to Settings → Regions.
- Choose your region.
- In the first section, click the action menu in the section's header.
- Choose Edit.
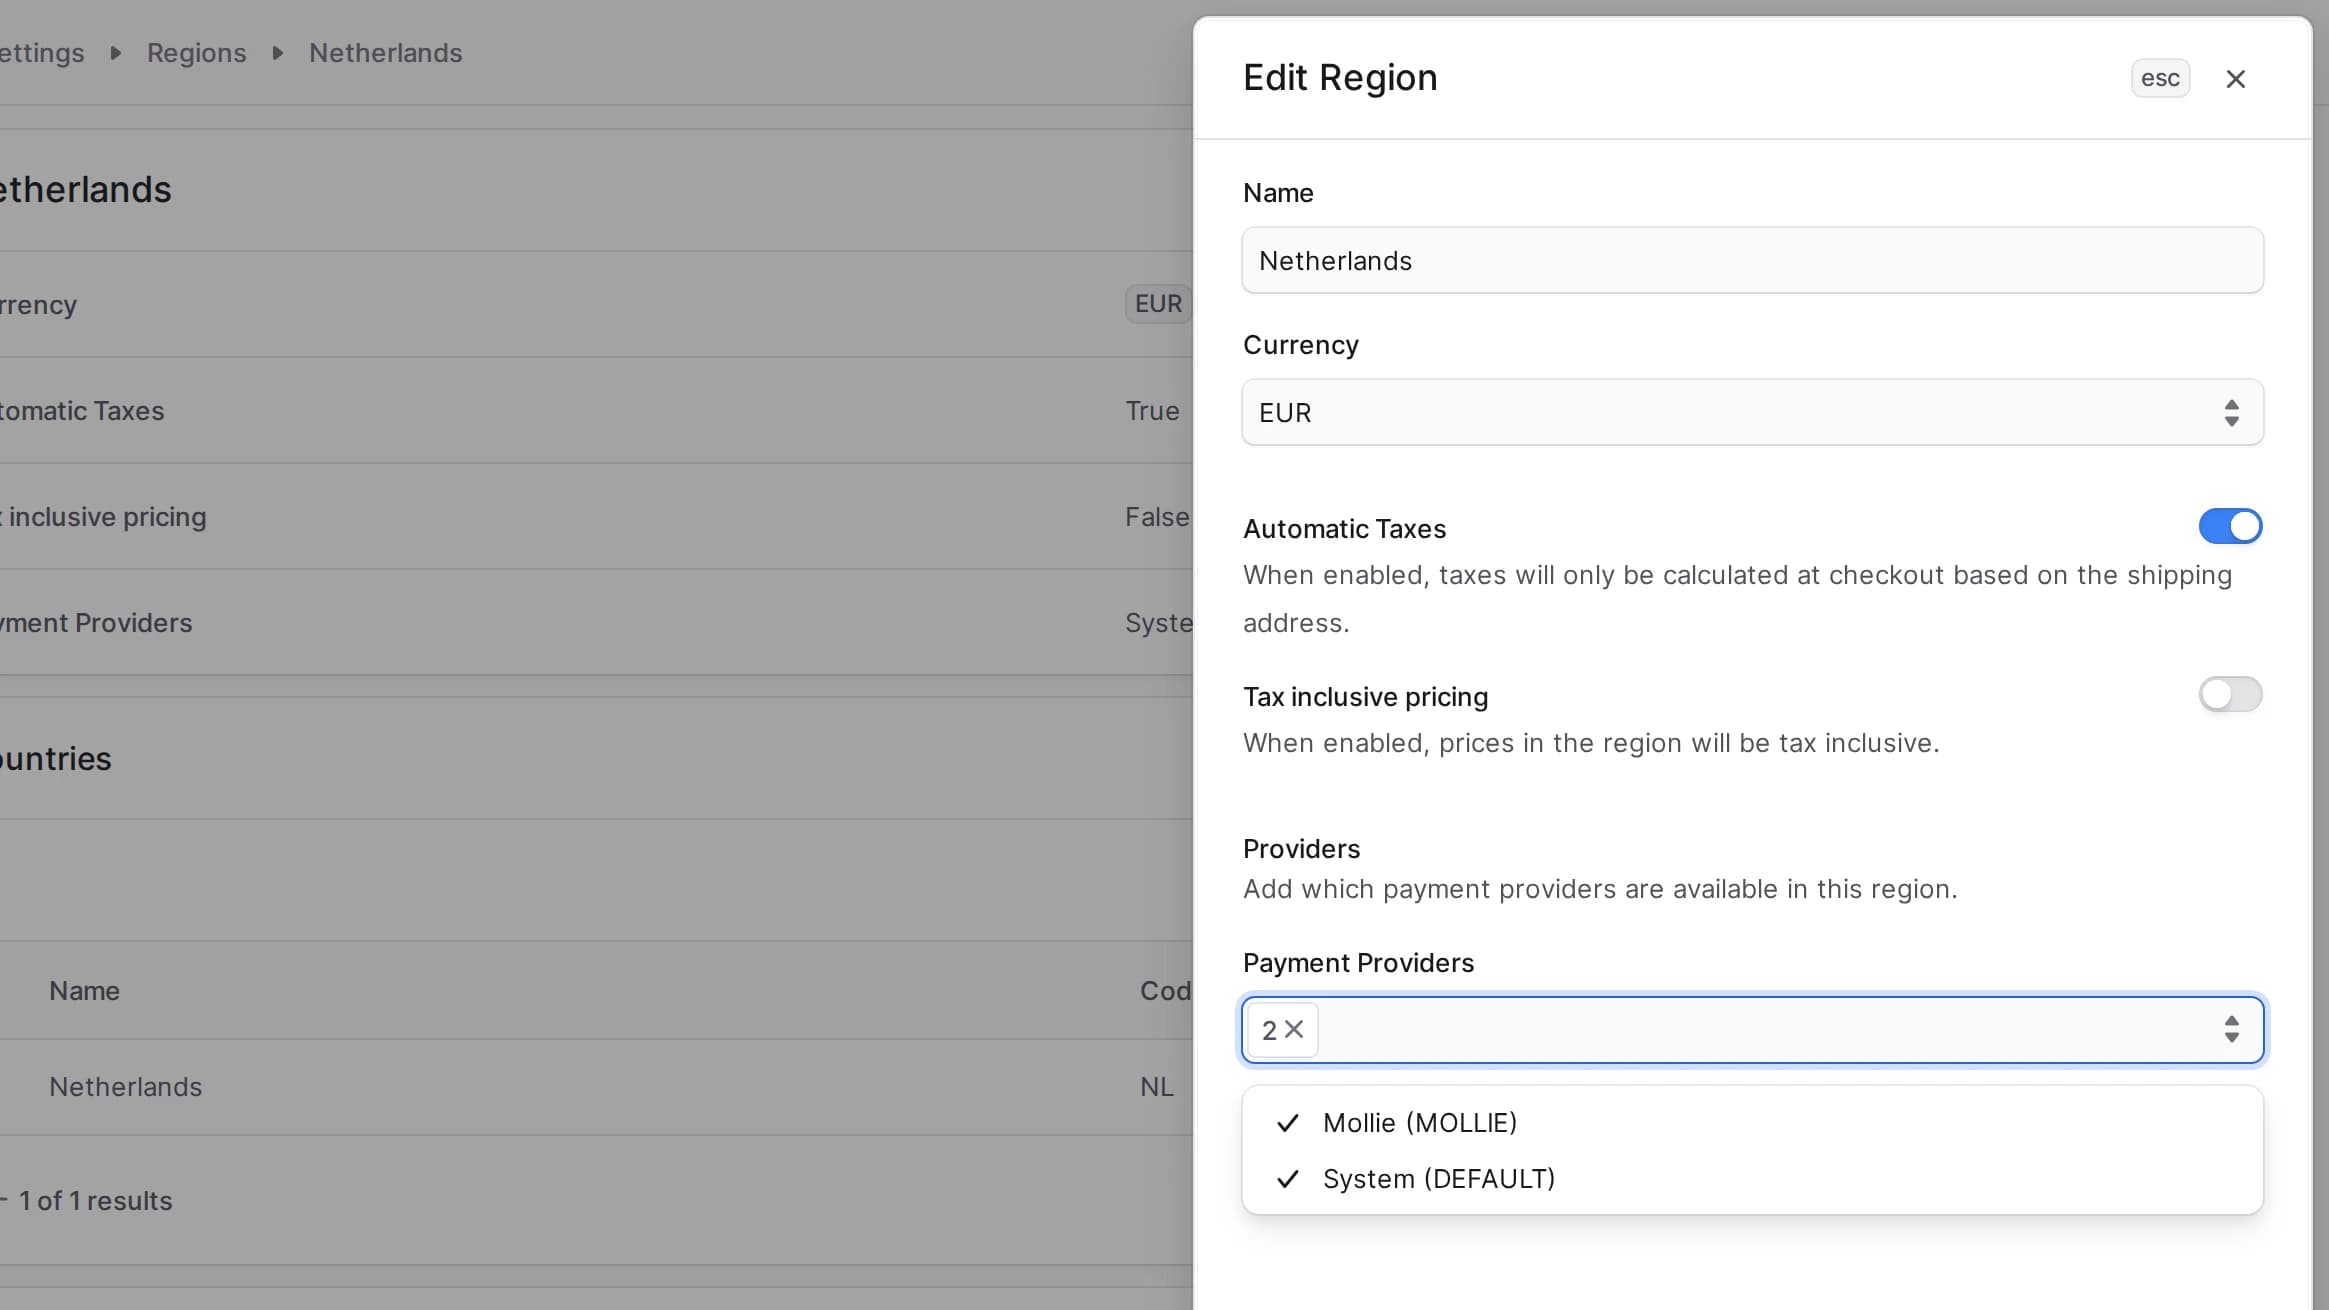
- In the modal that opens, add Mollie (MOLLIE) to Payment Providers.
- Click Save.
Mollie's test mode accepts only EUR, so test in a region in euros. In live mode, Mollie's payment page offers only the methods that accept the cart's currency.
Refunds and Cancellations
Make refunds and cancellations from the order in Medusa Admin. The plugin handles them depending on the payment's state in Mollie:
- Refund. A paid payment can be refunded in several parts, up to the amount paid. Mollie pays a refund back from your Mollie balance, asynchronously, and queues it while the balance is too low. If Mollie later reports a refund as failed, the plugin writes a warning to the log, and the order in Medusa still shows the refund. Gift cards and paysafecard payments cannot be refunded.
- Cancellation of an authorized payment. The plugin asks Mollie to release the held amount. Mollie releases it asynchronously.
- Cancellation of an open payment. Mollie does not cancel a payment the buyer has not chosen a method for. The plugin leaves it open with a warning in the log, and Mollie lets it expire.
- Cancellation of a paid payment. The plugin refuses it with a message to refund the payment instead.
A refund or a cancellation made in the Mollie Web App does not reach Medusa, and the order keeps its amounts.